
He's previously fixed up an old mandolin and a banjolin, as well as repaired a cracked bridge on his first guitar, but this is his first serious mod!
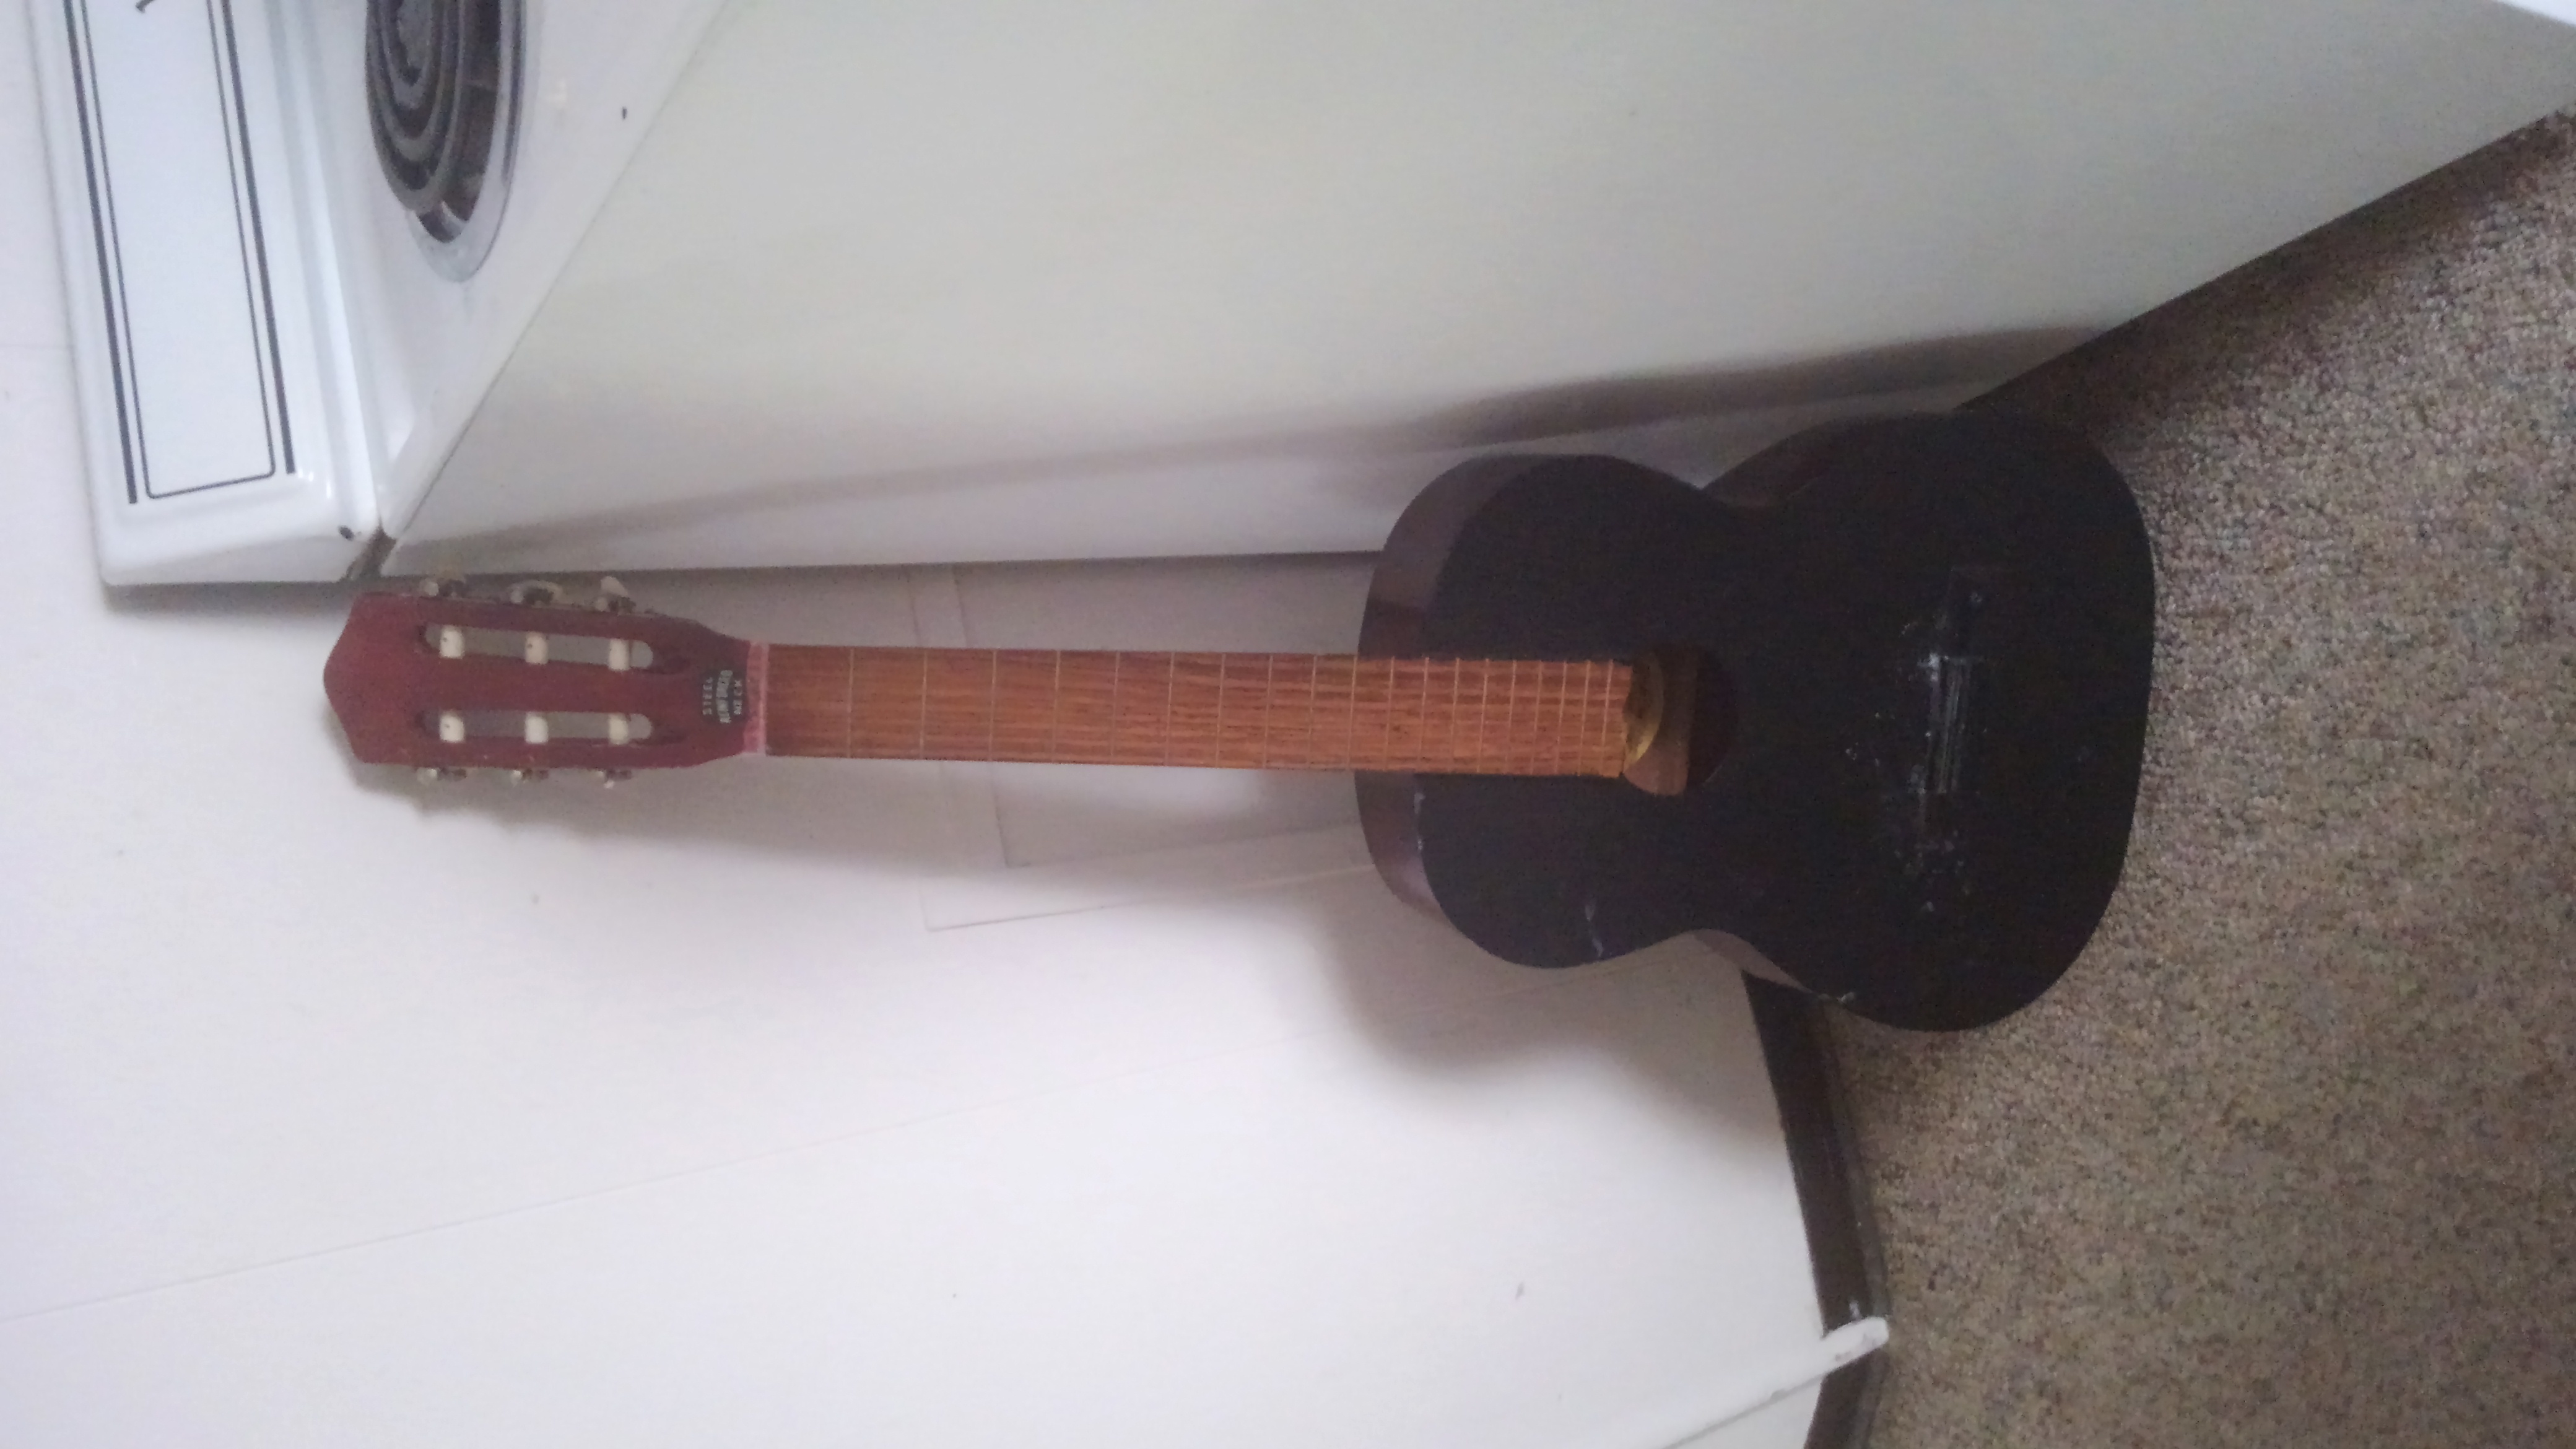
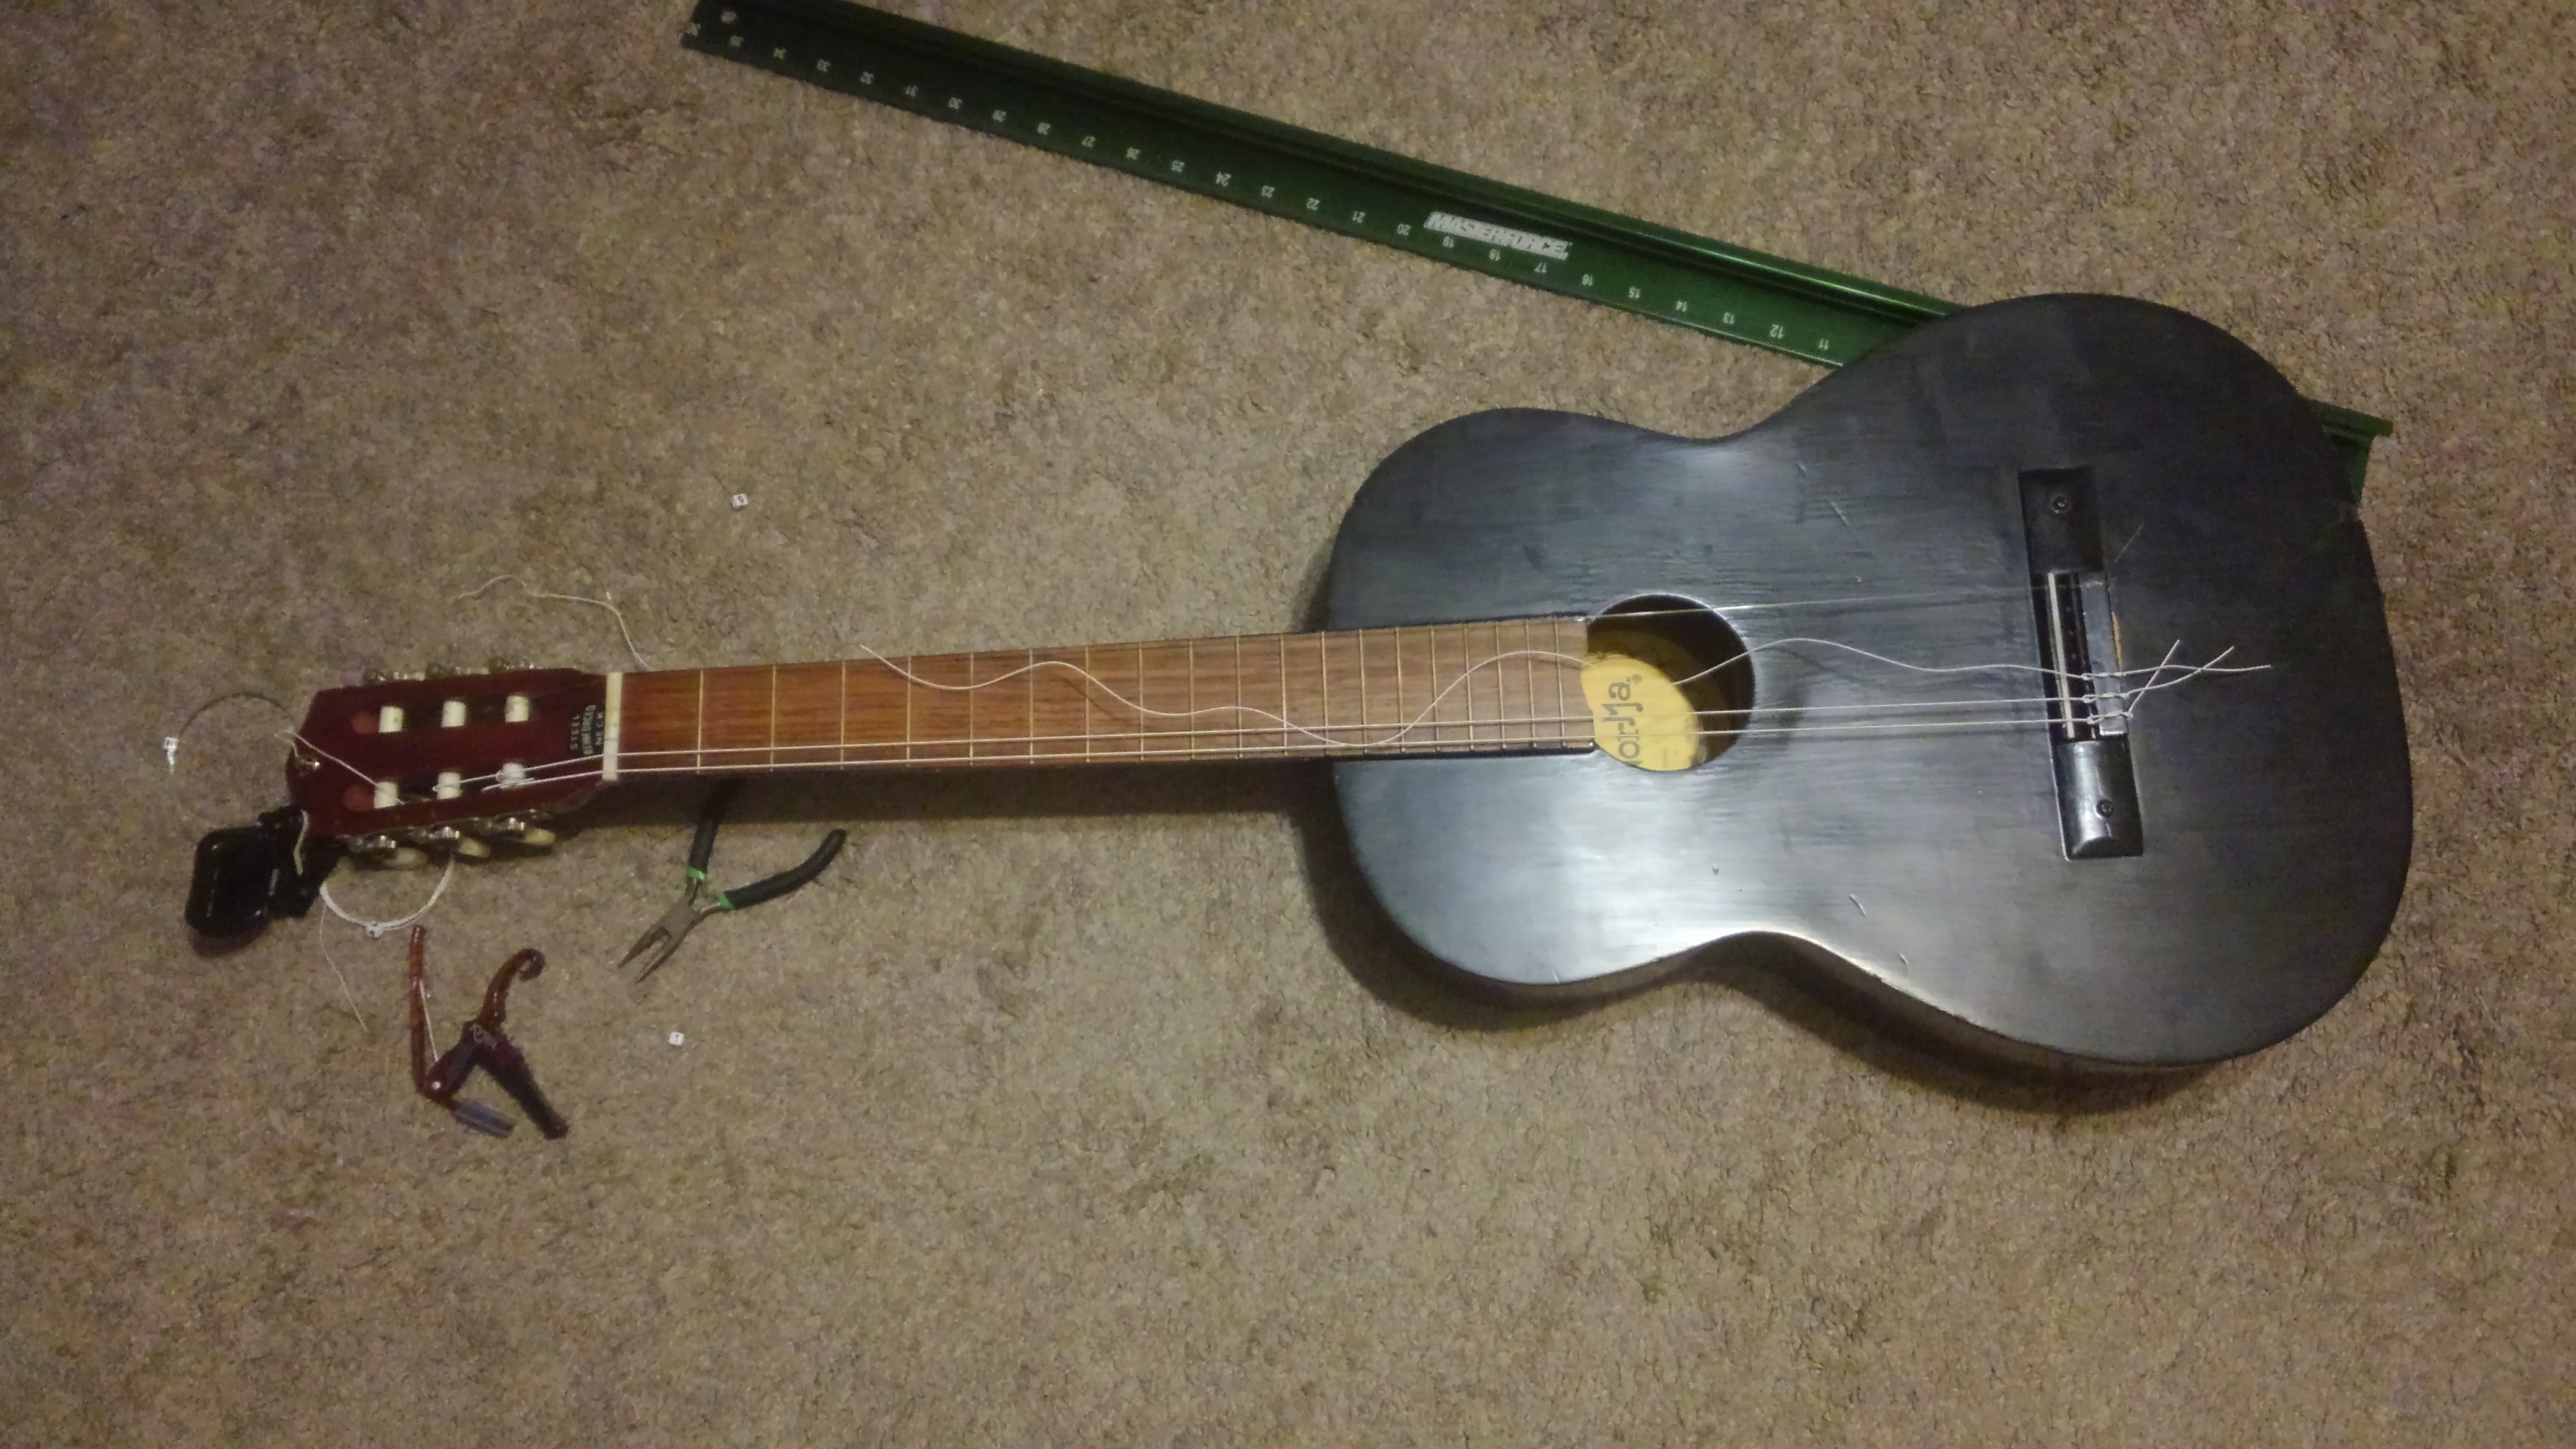
So, I got my hands on this beat-up old classical for $45 off of Craigslist. The objective is to turn it into a nylon 7-string.
This picture is after I already took the nut off, which actually just took pushing on it with my fingers. Also, it's covered in bone dust from fitting the saddle.
I ordered some bone nut and saddle blanks off of the Interwebs. I found out the hard way that bone is a BITCH to sand down.
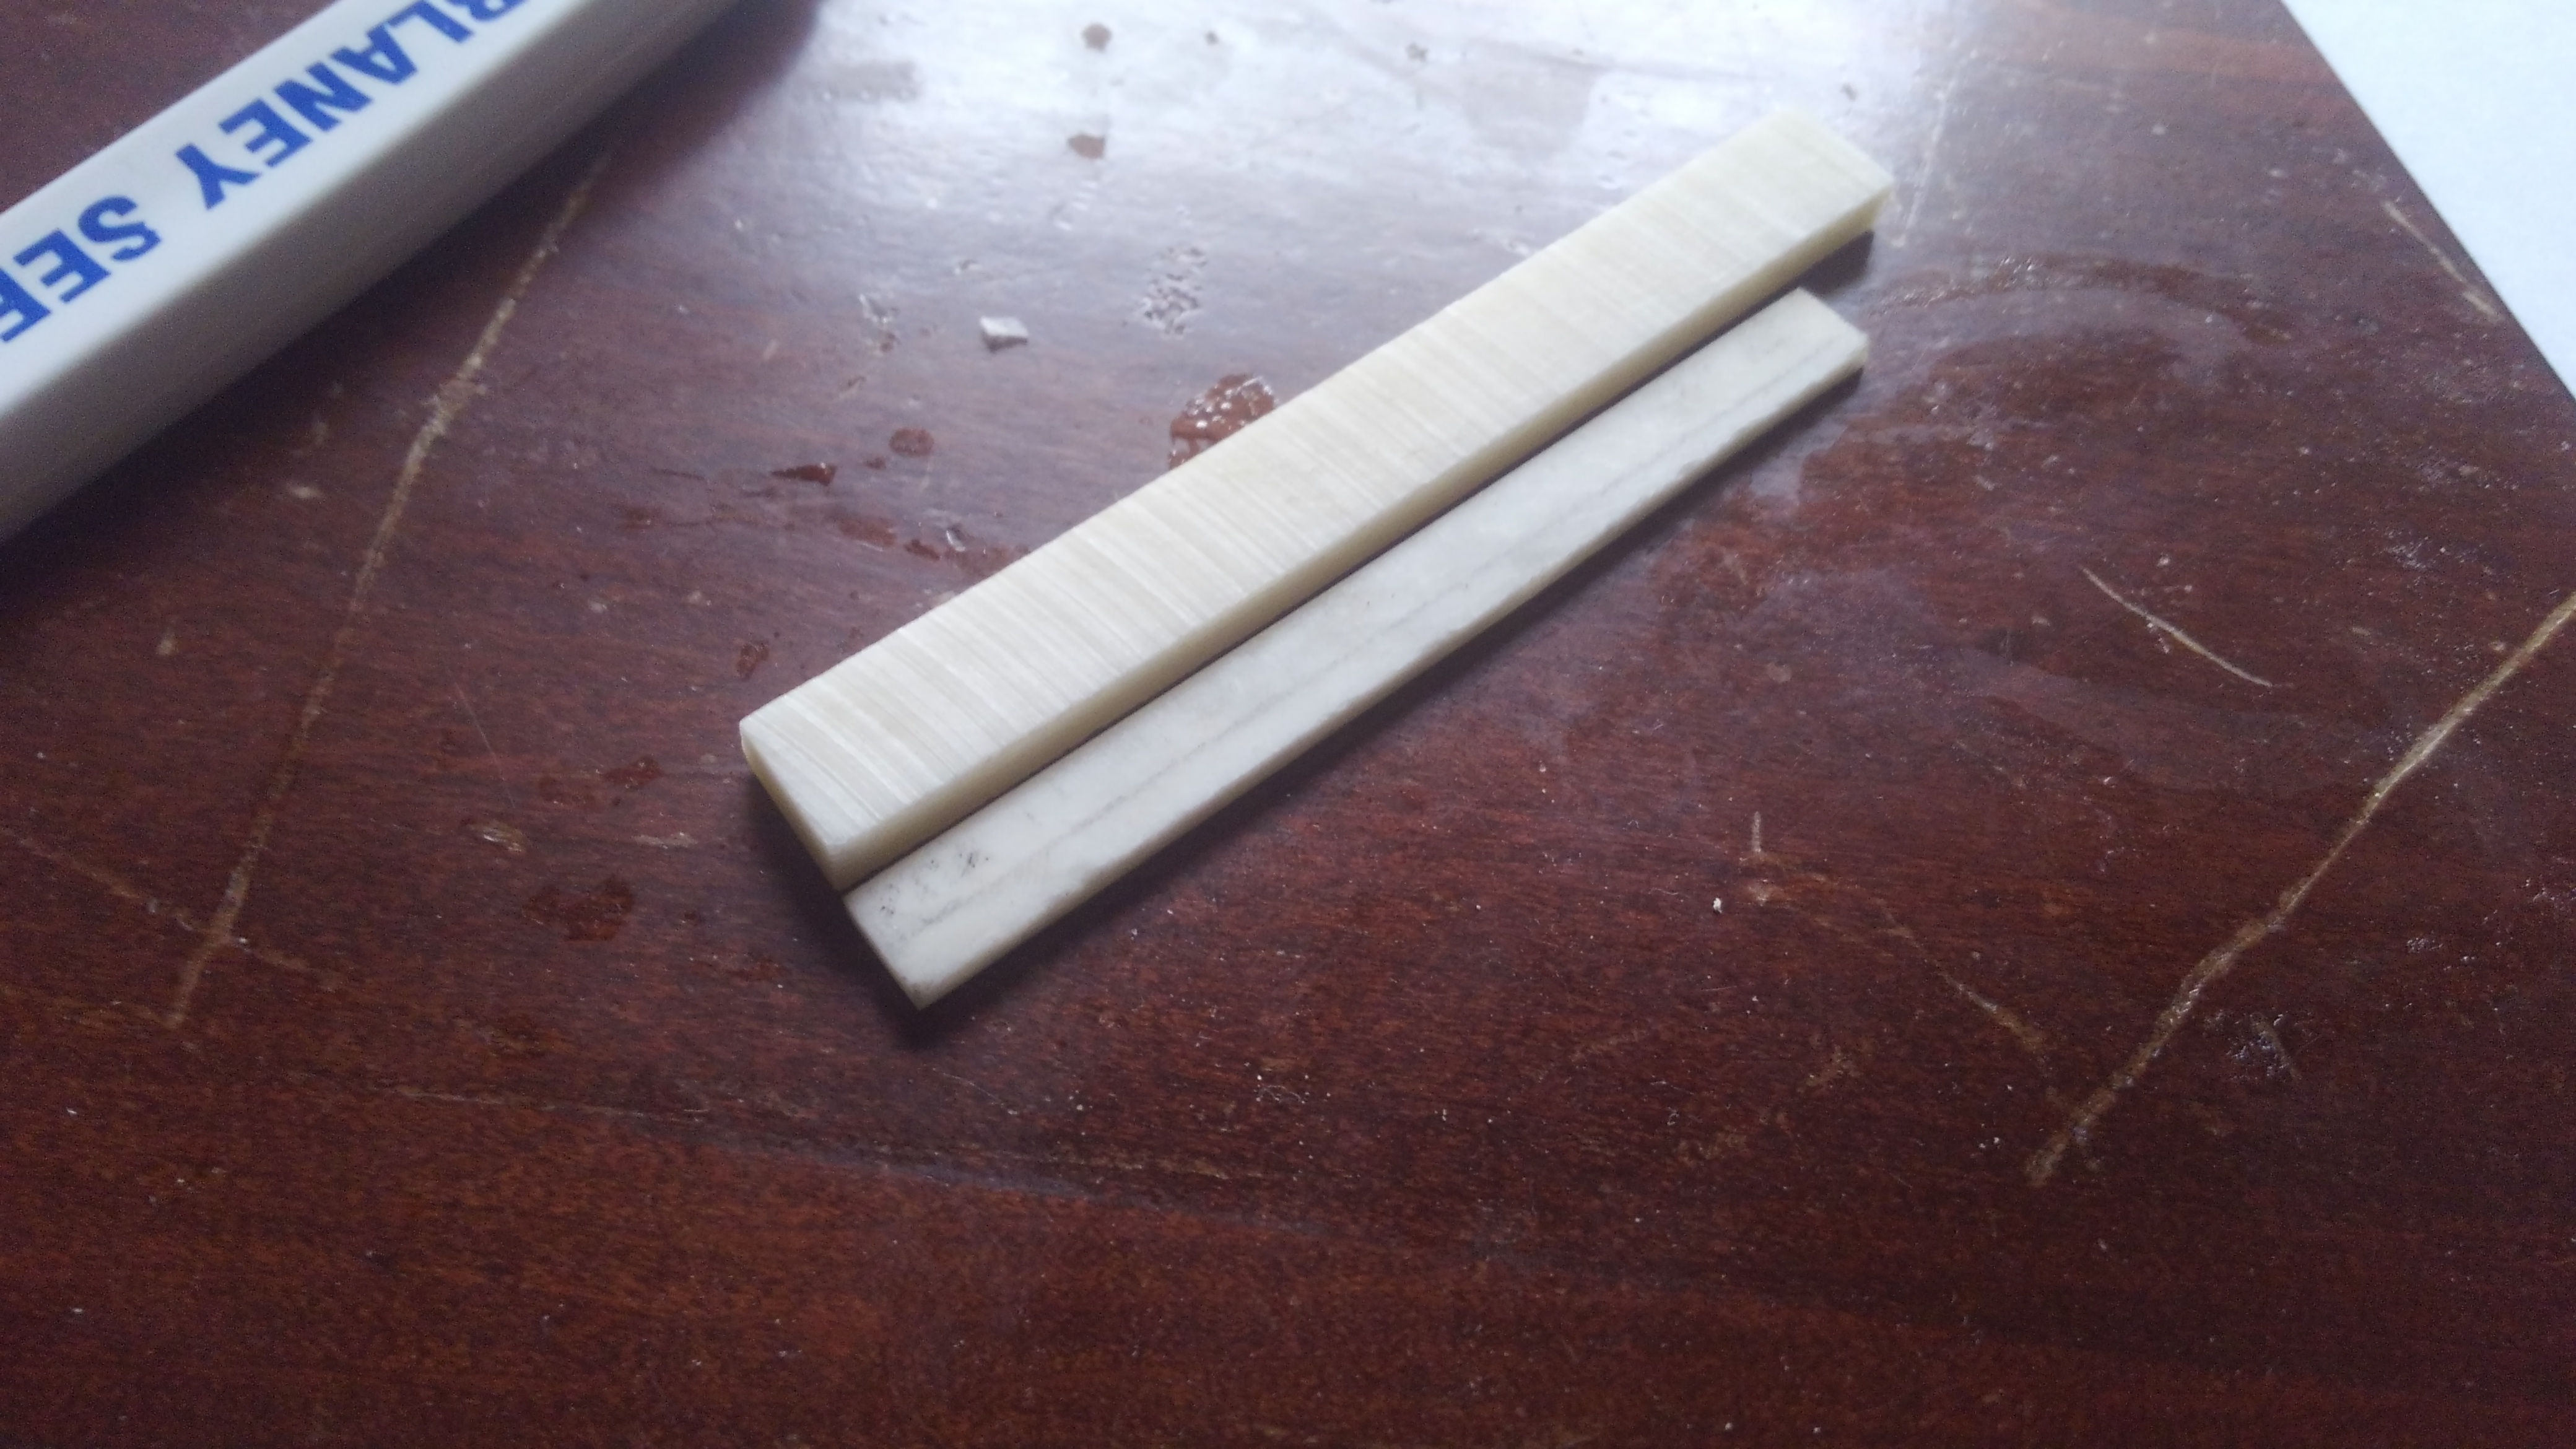
Blank saddle, versus the one I've sanded to fit. Height adjustment hasn't been done yet; I'm betting it'll be to the pencil line but I can't do that part until it's strung, and I can't string it until I get the proper number of holes drilled in the bridge. Sanding from the big one to the small one by hand took a solid hour and a half.
Up next is shaping the nut from the blank. I sanded about 1/32" off of the side to make it flush with the fretboard. After that, I needed a way to line up seven slots consistently with even spacing. I went to make an image to print off, but within a minute or two realized it would be WAY easier to stick pipes in a spreadsheet and adjust the column width.
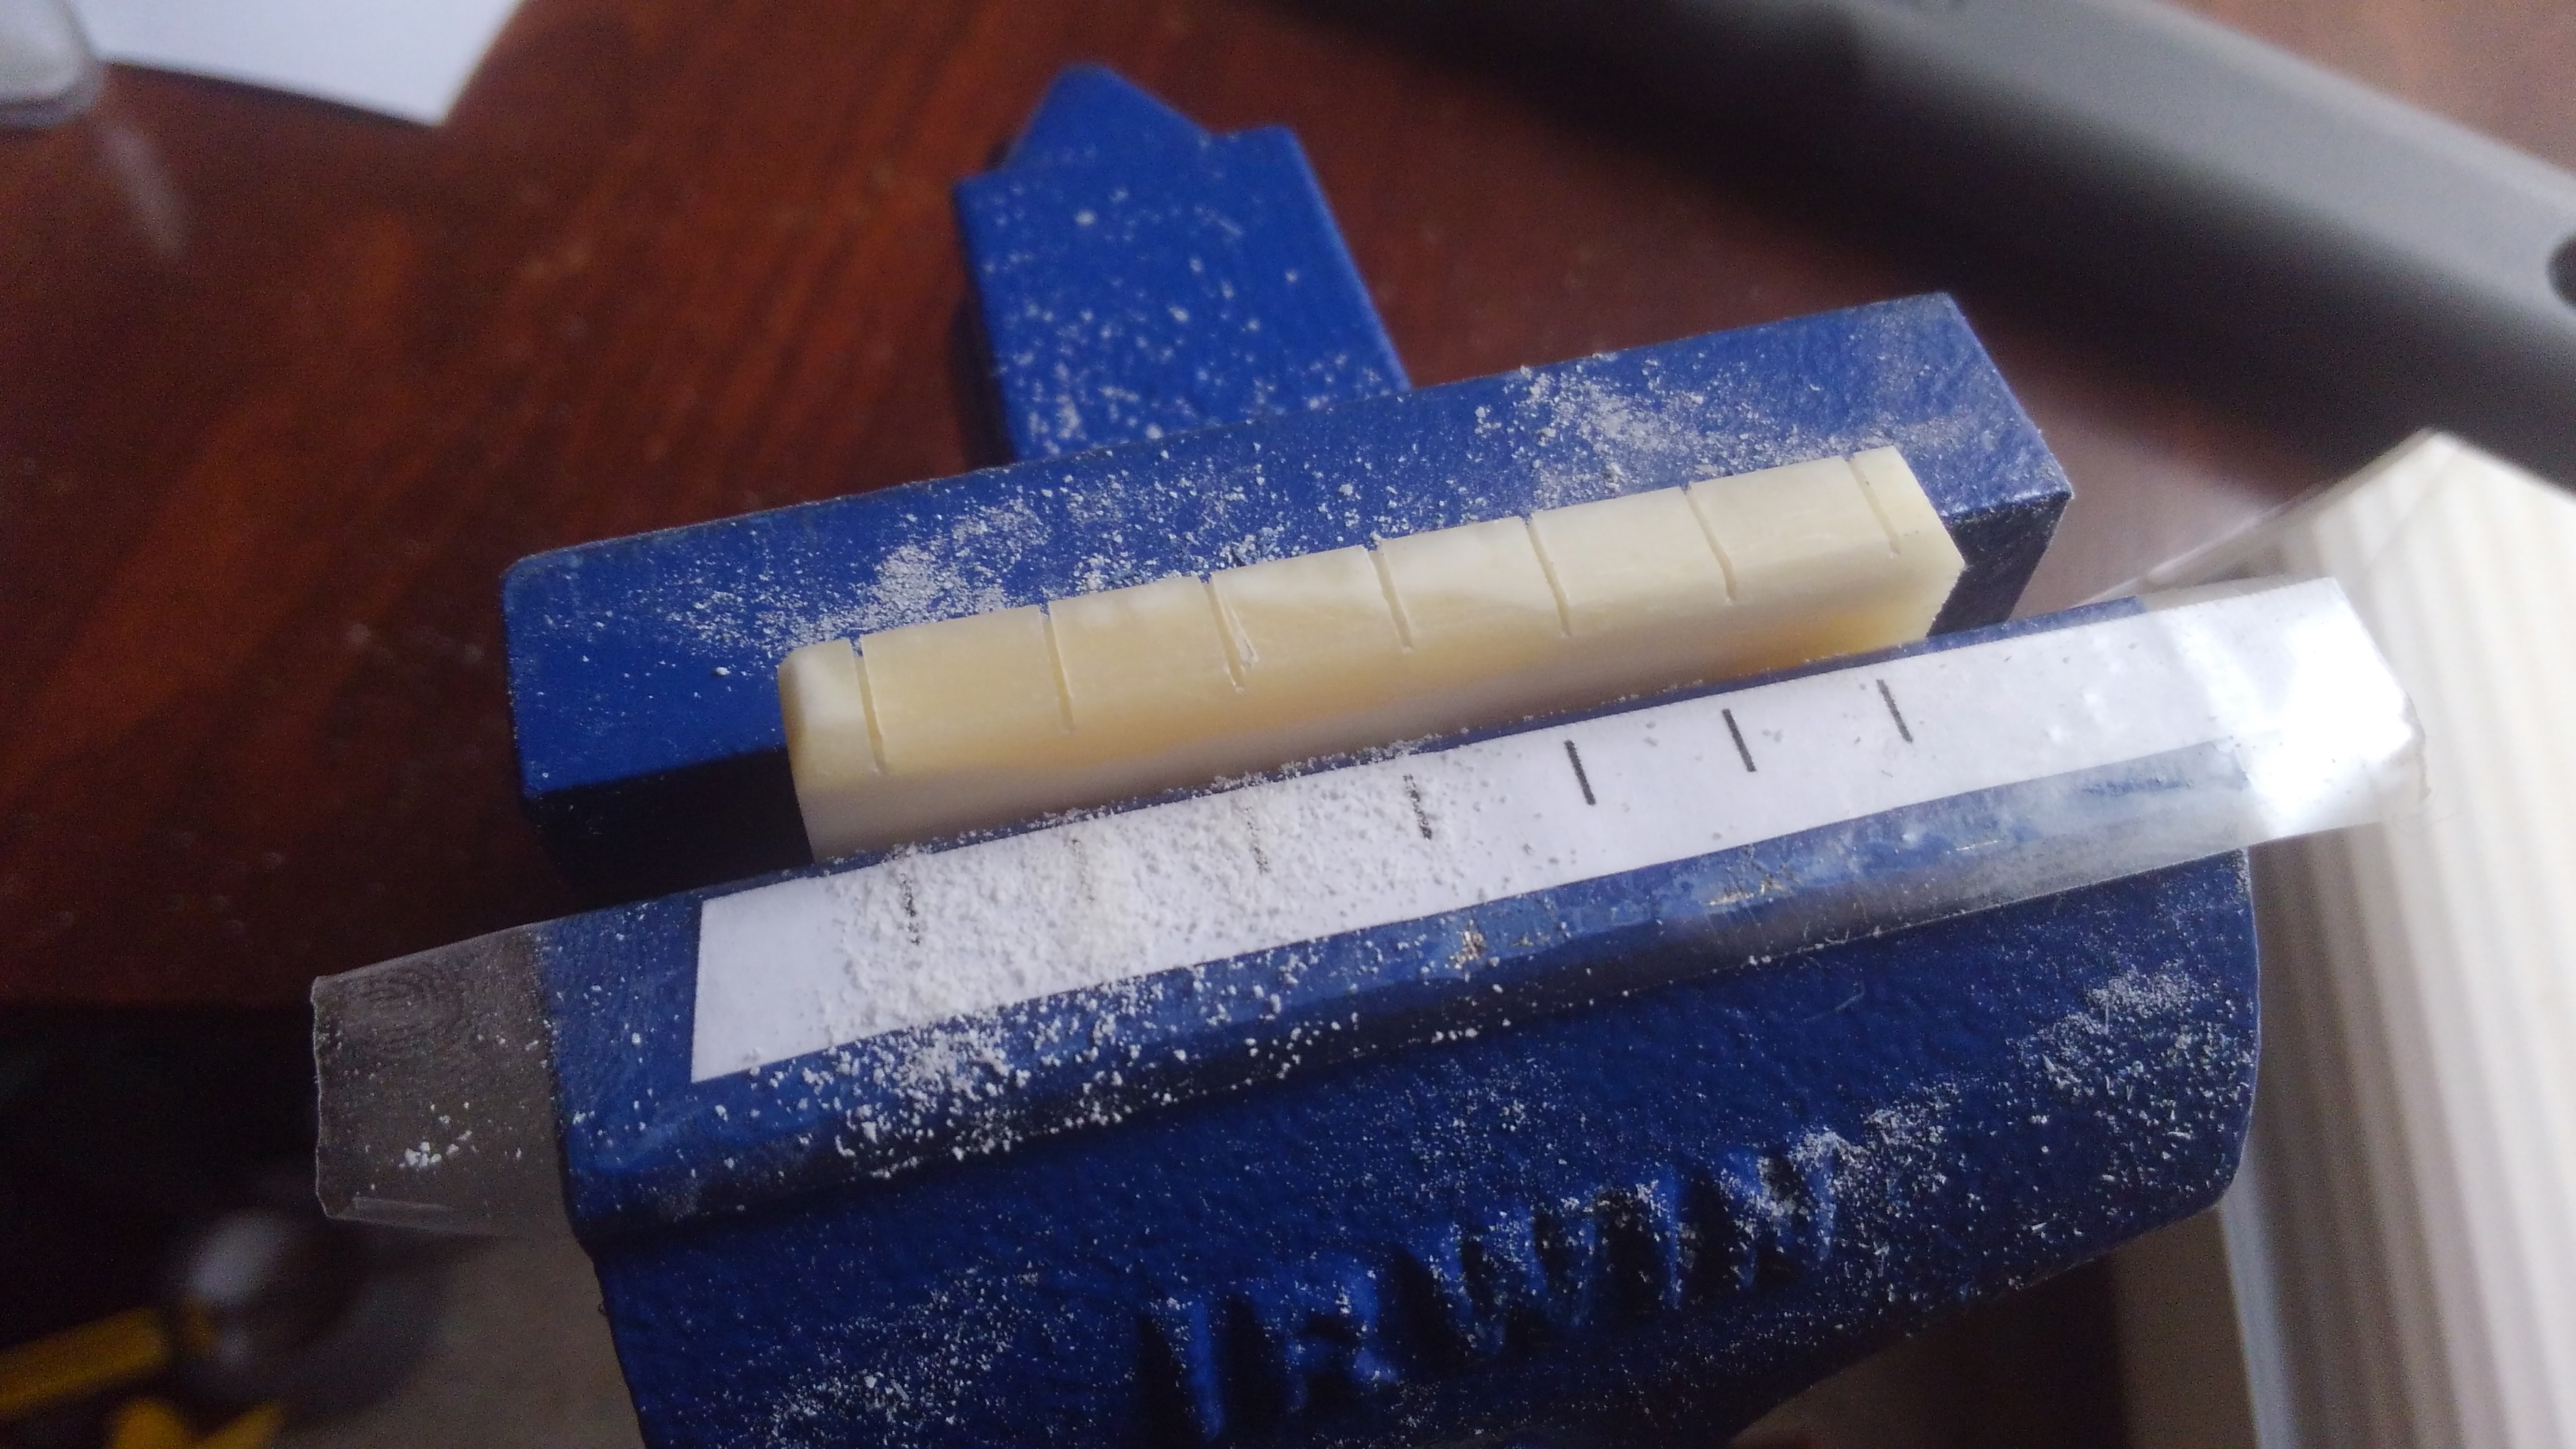
The nut, with template and bone dust. Incidentally, bone dust smells remarkably like cum. When I get my hands on the strings, I'll be able to get those slots to the right widths and depths.
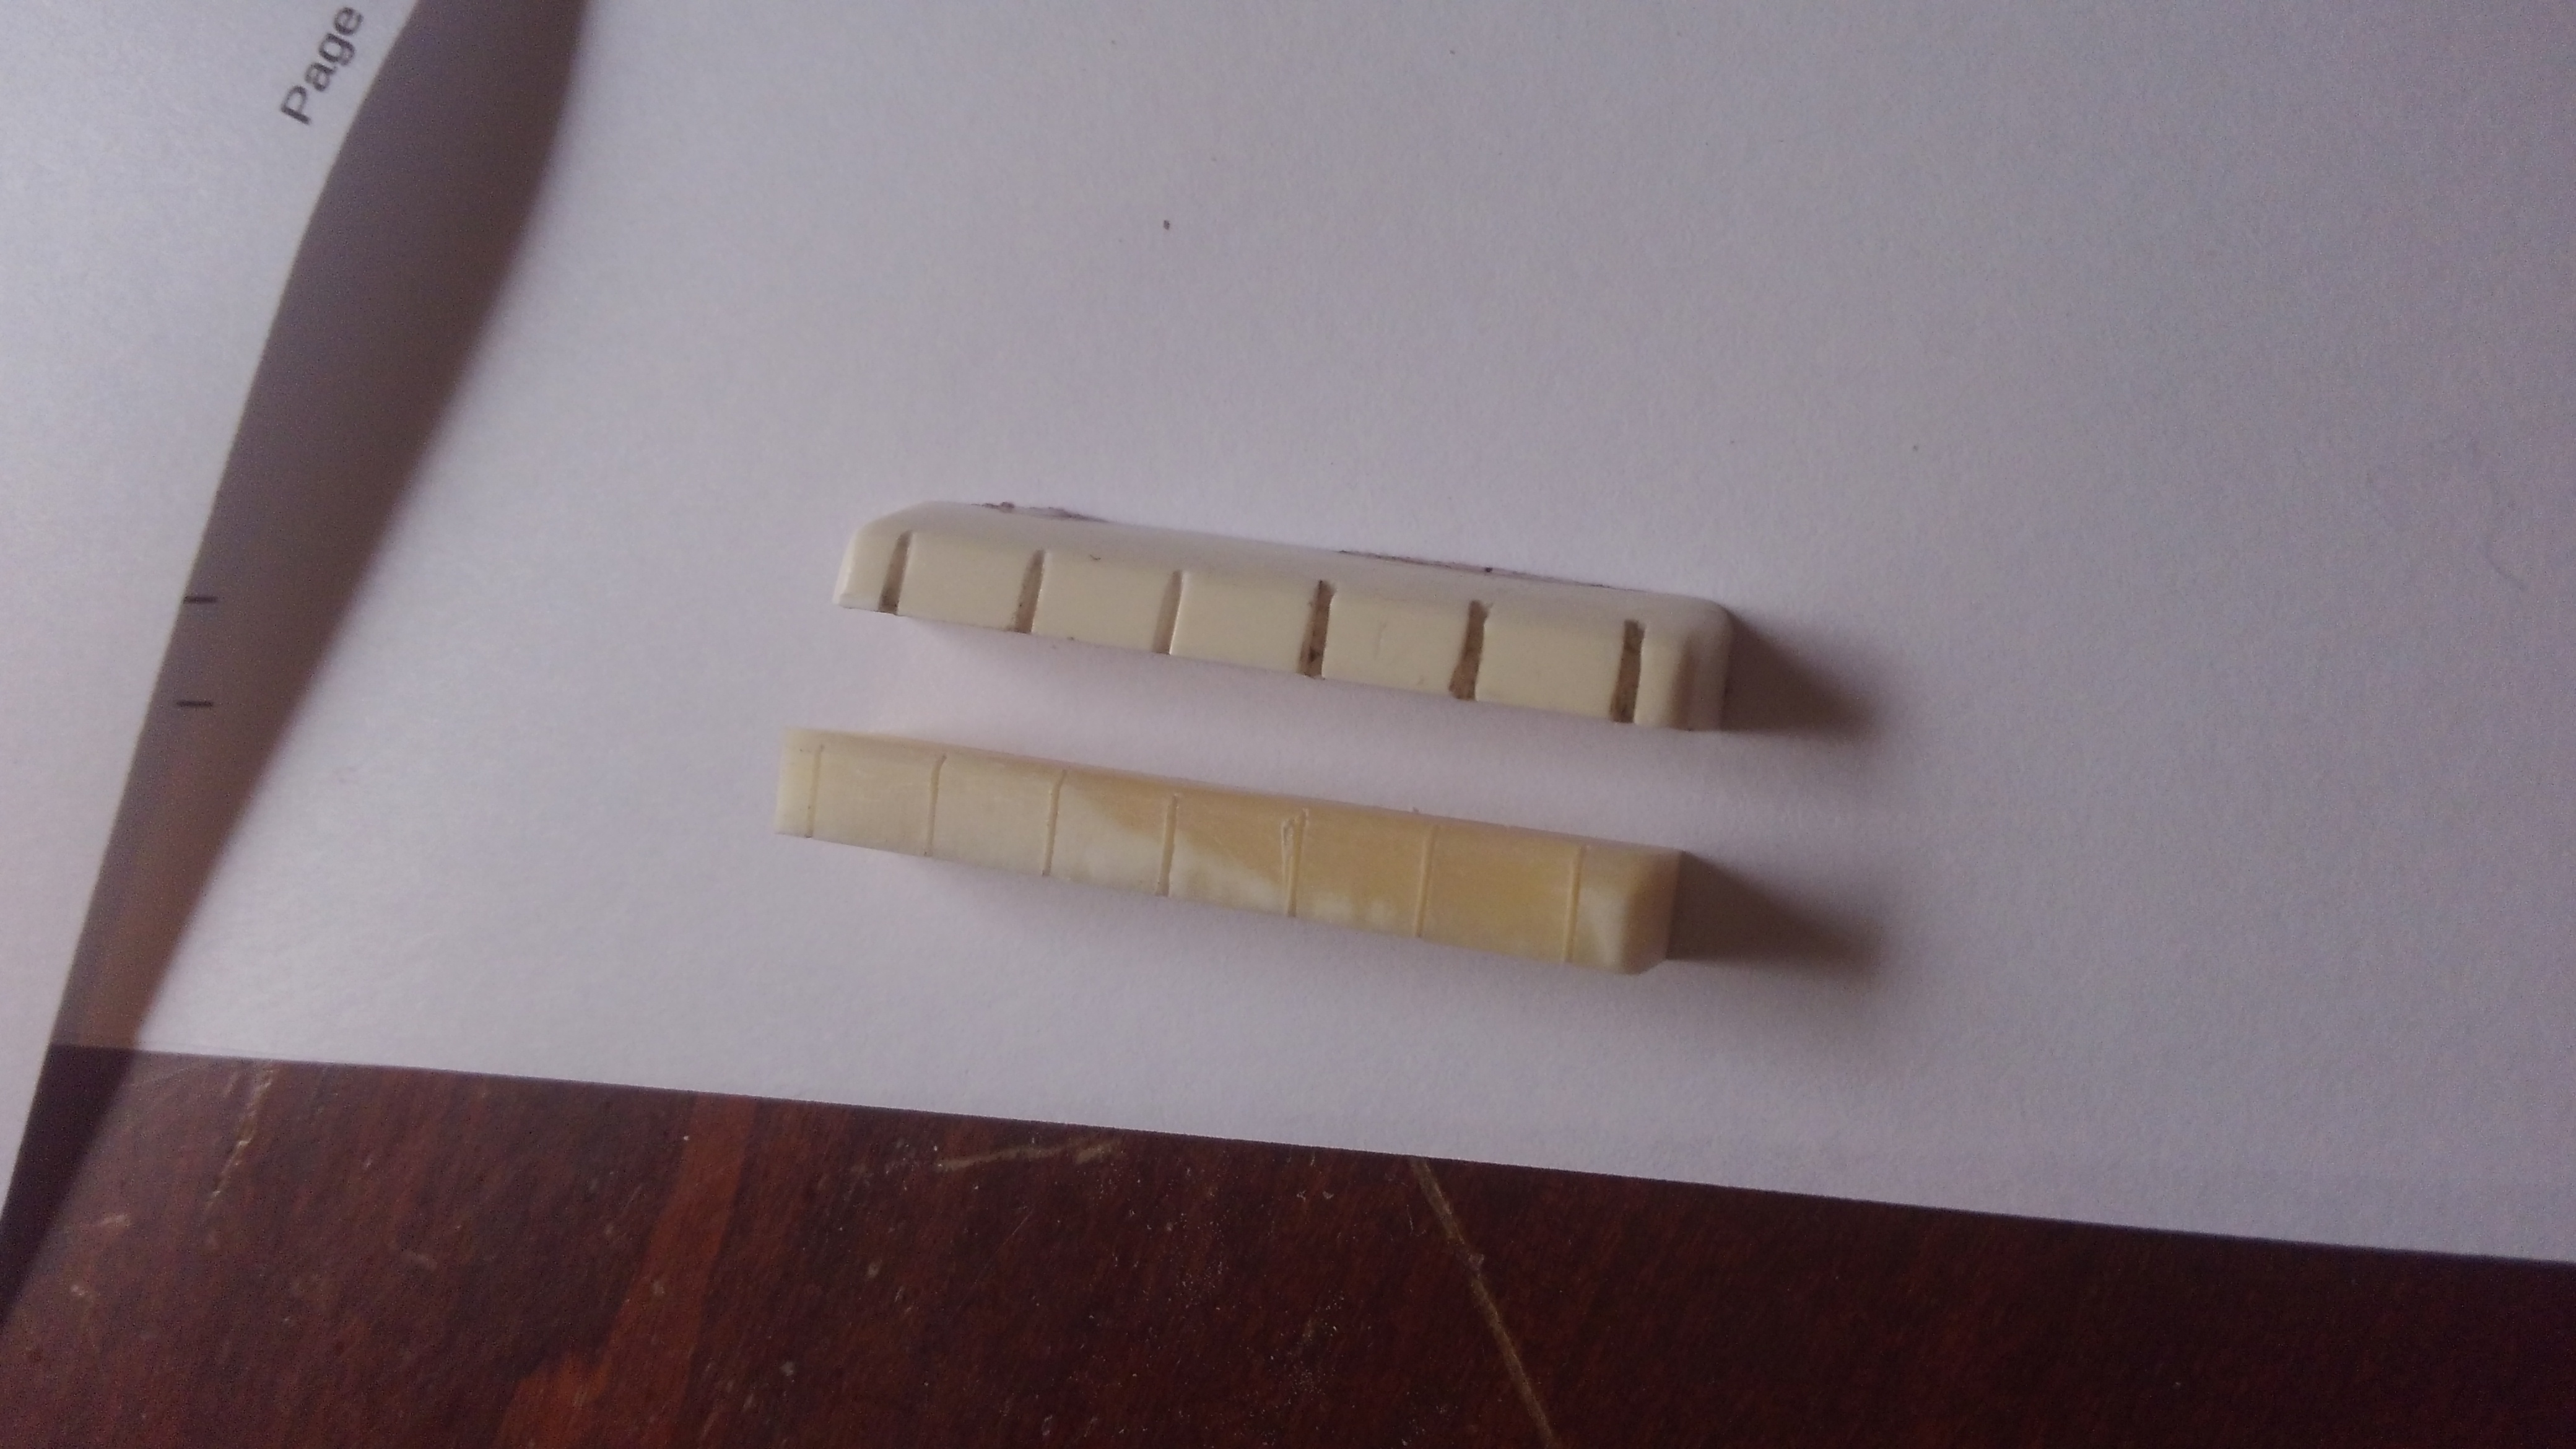
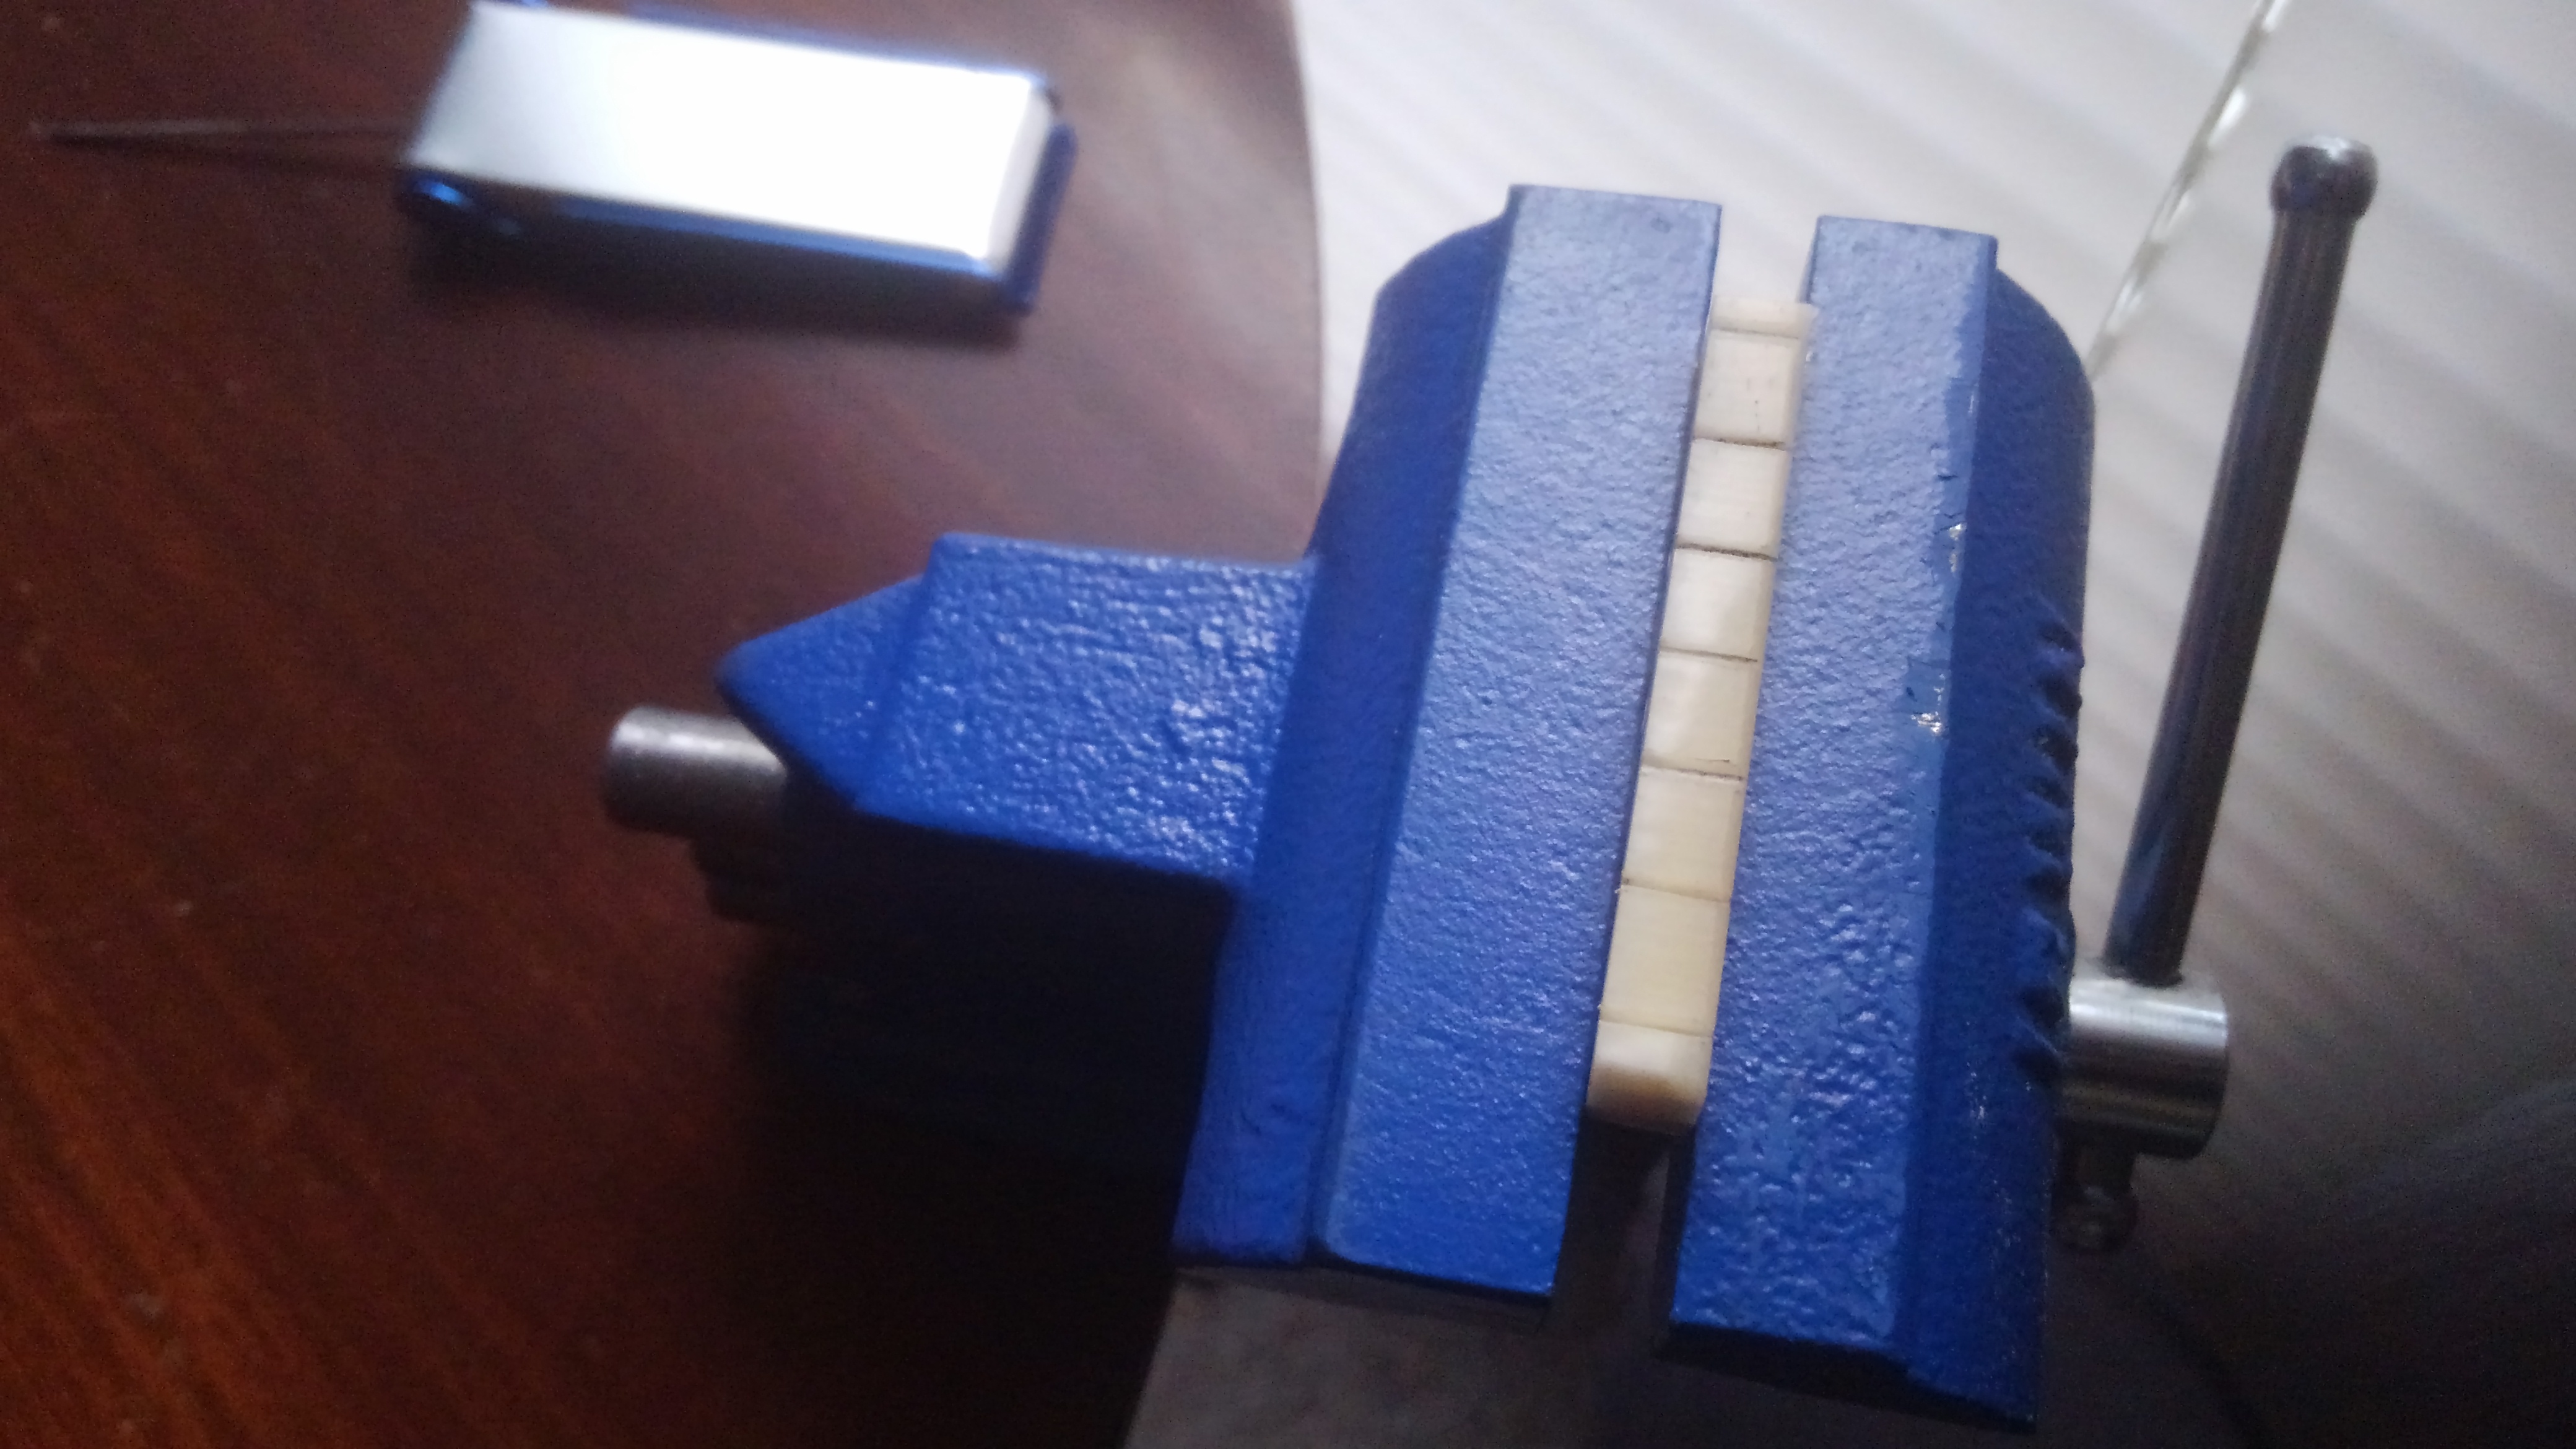
New nut next to original one for comparison
The next major task will be getting the bridge block off of the soundboard. The saddle fits in that slot at the top. I need to get it off so that I can fill those six holes with wood filler, then drill seven ones in their place. (Nylon-string guitars have the strings tied on at the bottom.)
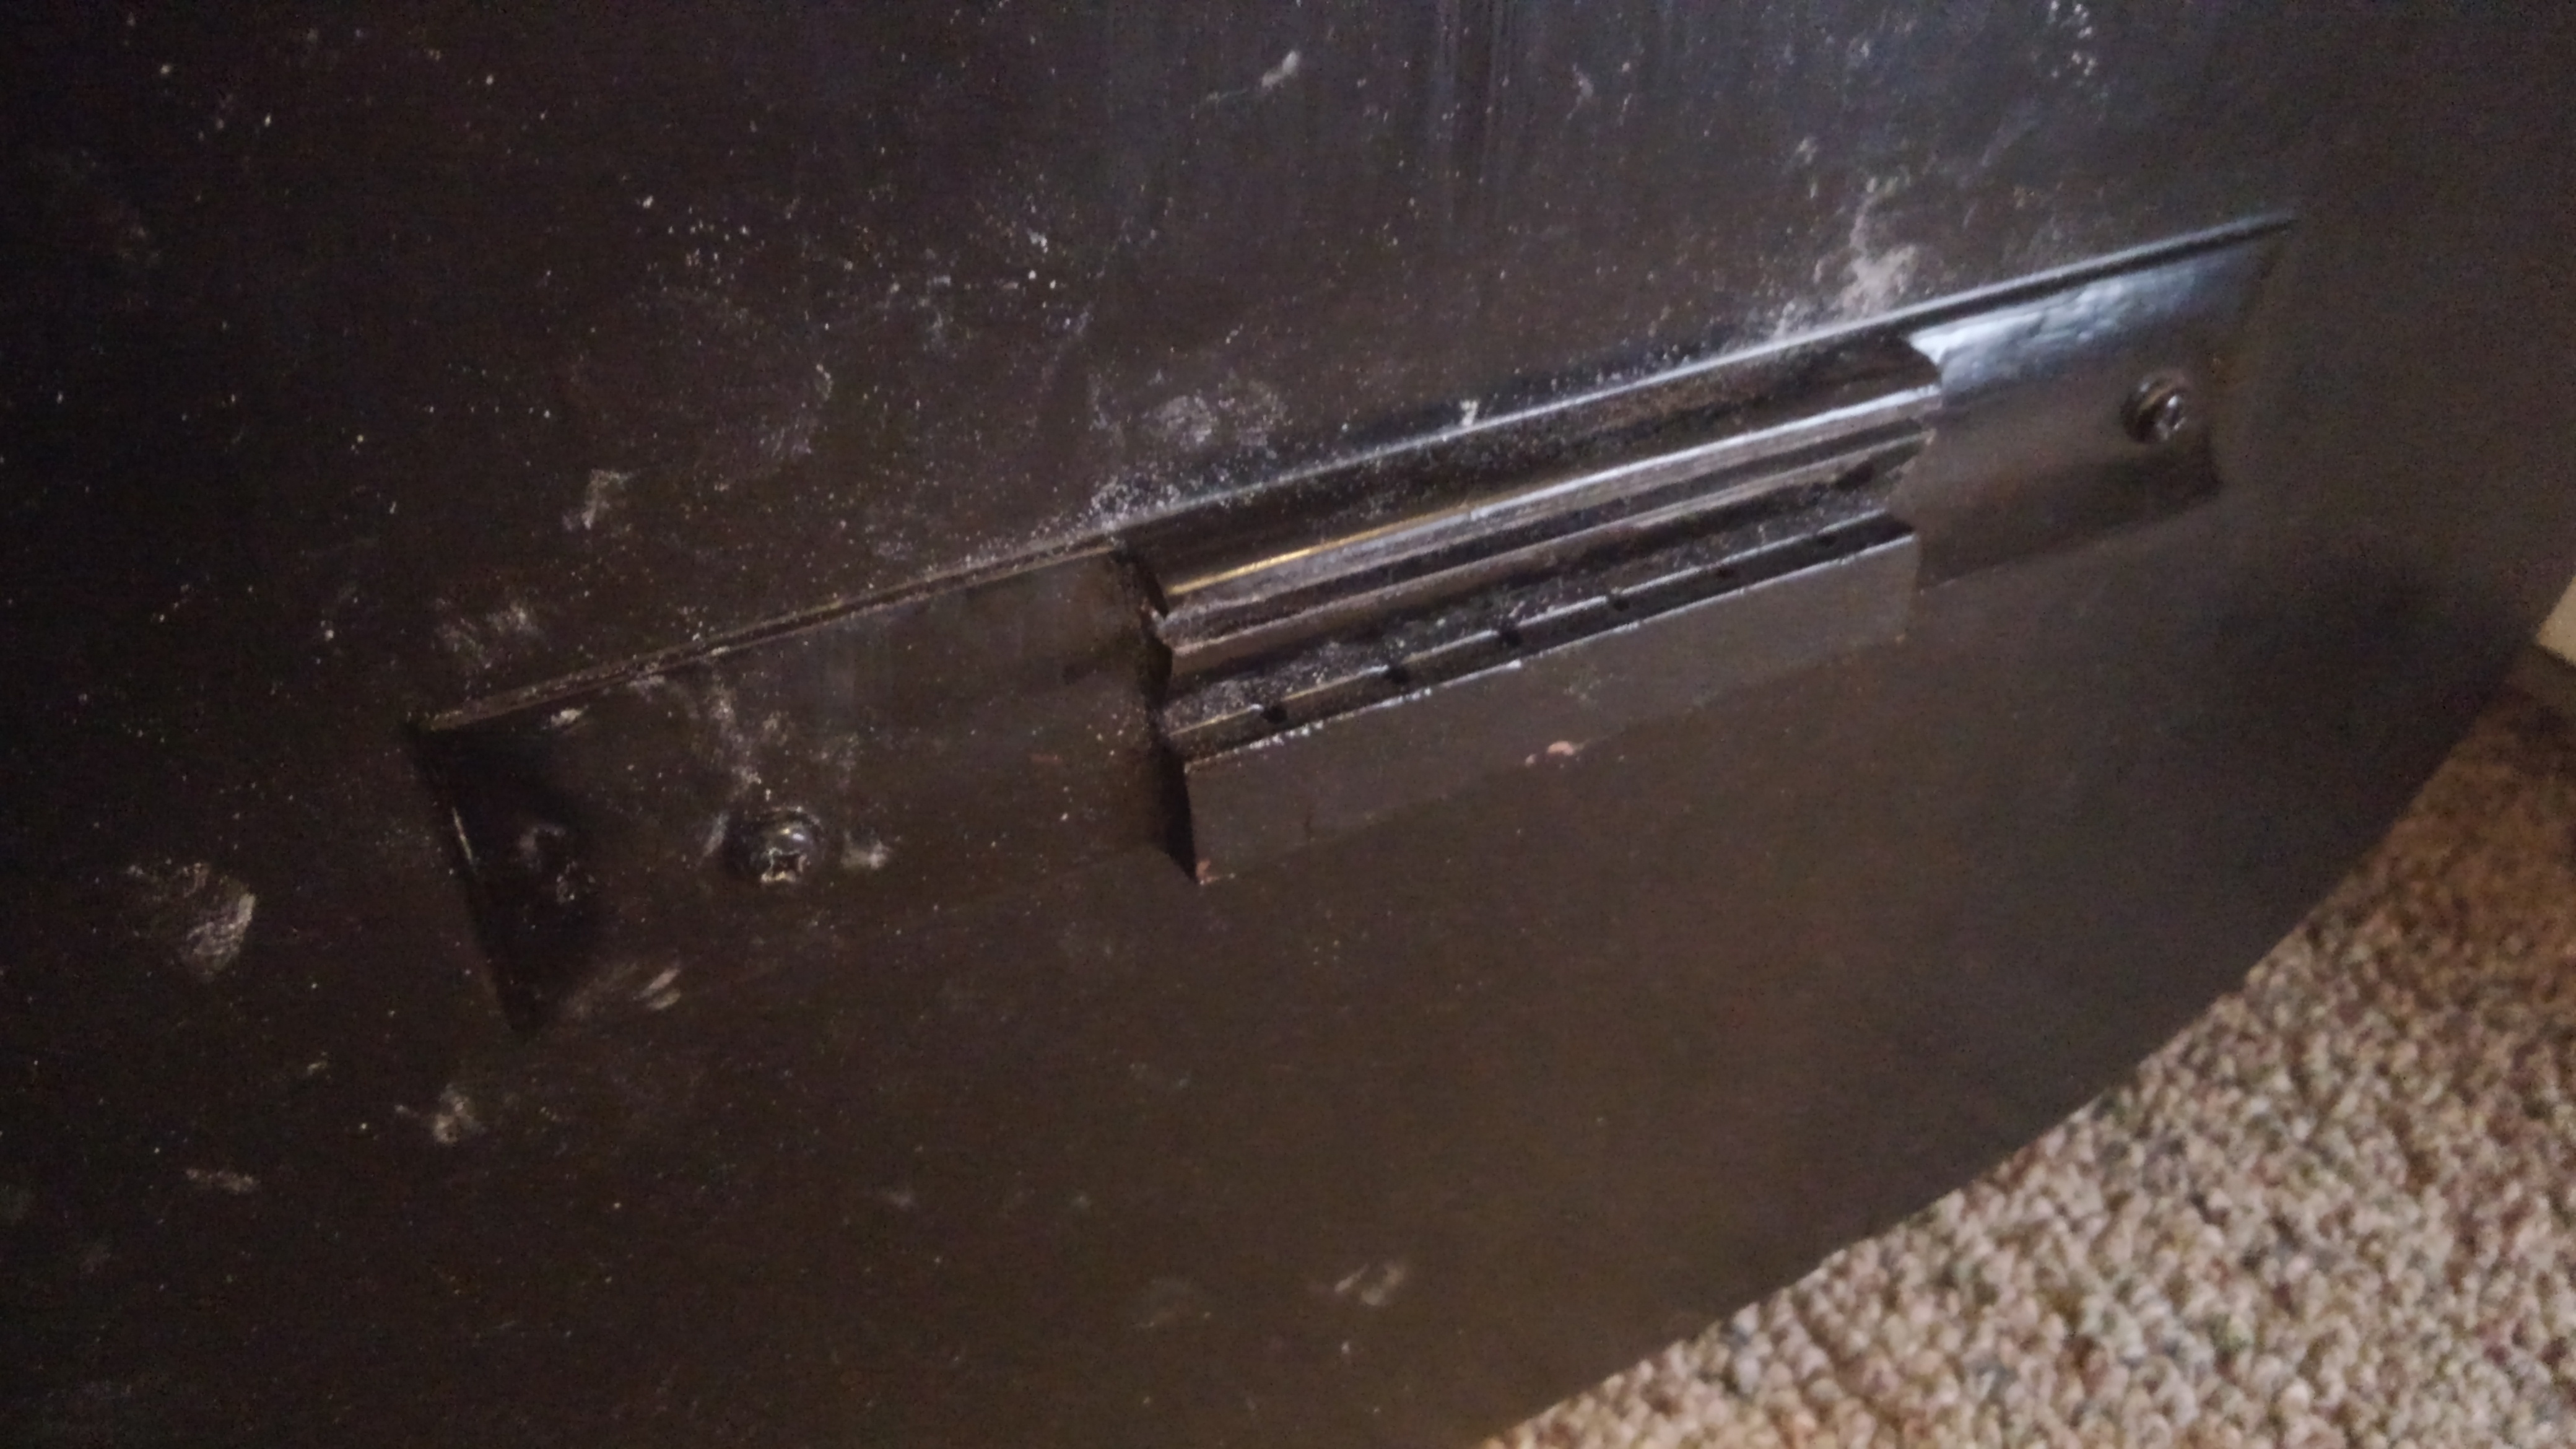
Those screws are just into nuts on the other side of the soundboard; getting them out is easy. But, the bridge is also glued to the soundboard; in order to get it off, my plan is to heat a couple of ounces of sand to 150-200f in the oven, then put the sand in a sock and lay it on top of the bridge for a few minutes. The heat will hopefully soften the glue, so that I can put a rag over the bridge and remove it by tapping with a hammer.
EDIT 1: Installing the Seventh Tuning Peg
So I ran to the local music shop today, and they sold me a Fender tuning machine for $4.20 (SMOKE ERRY DAY LOL). So I made a ghetto-ass template for drilling, and installed it in the ugliest way imaginable.
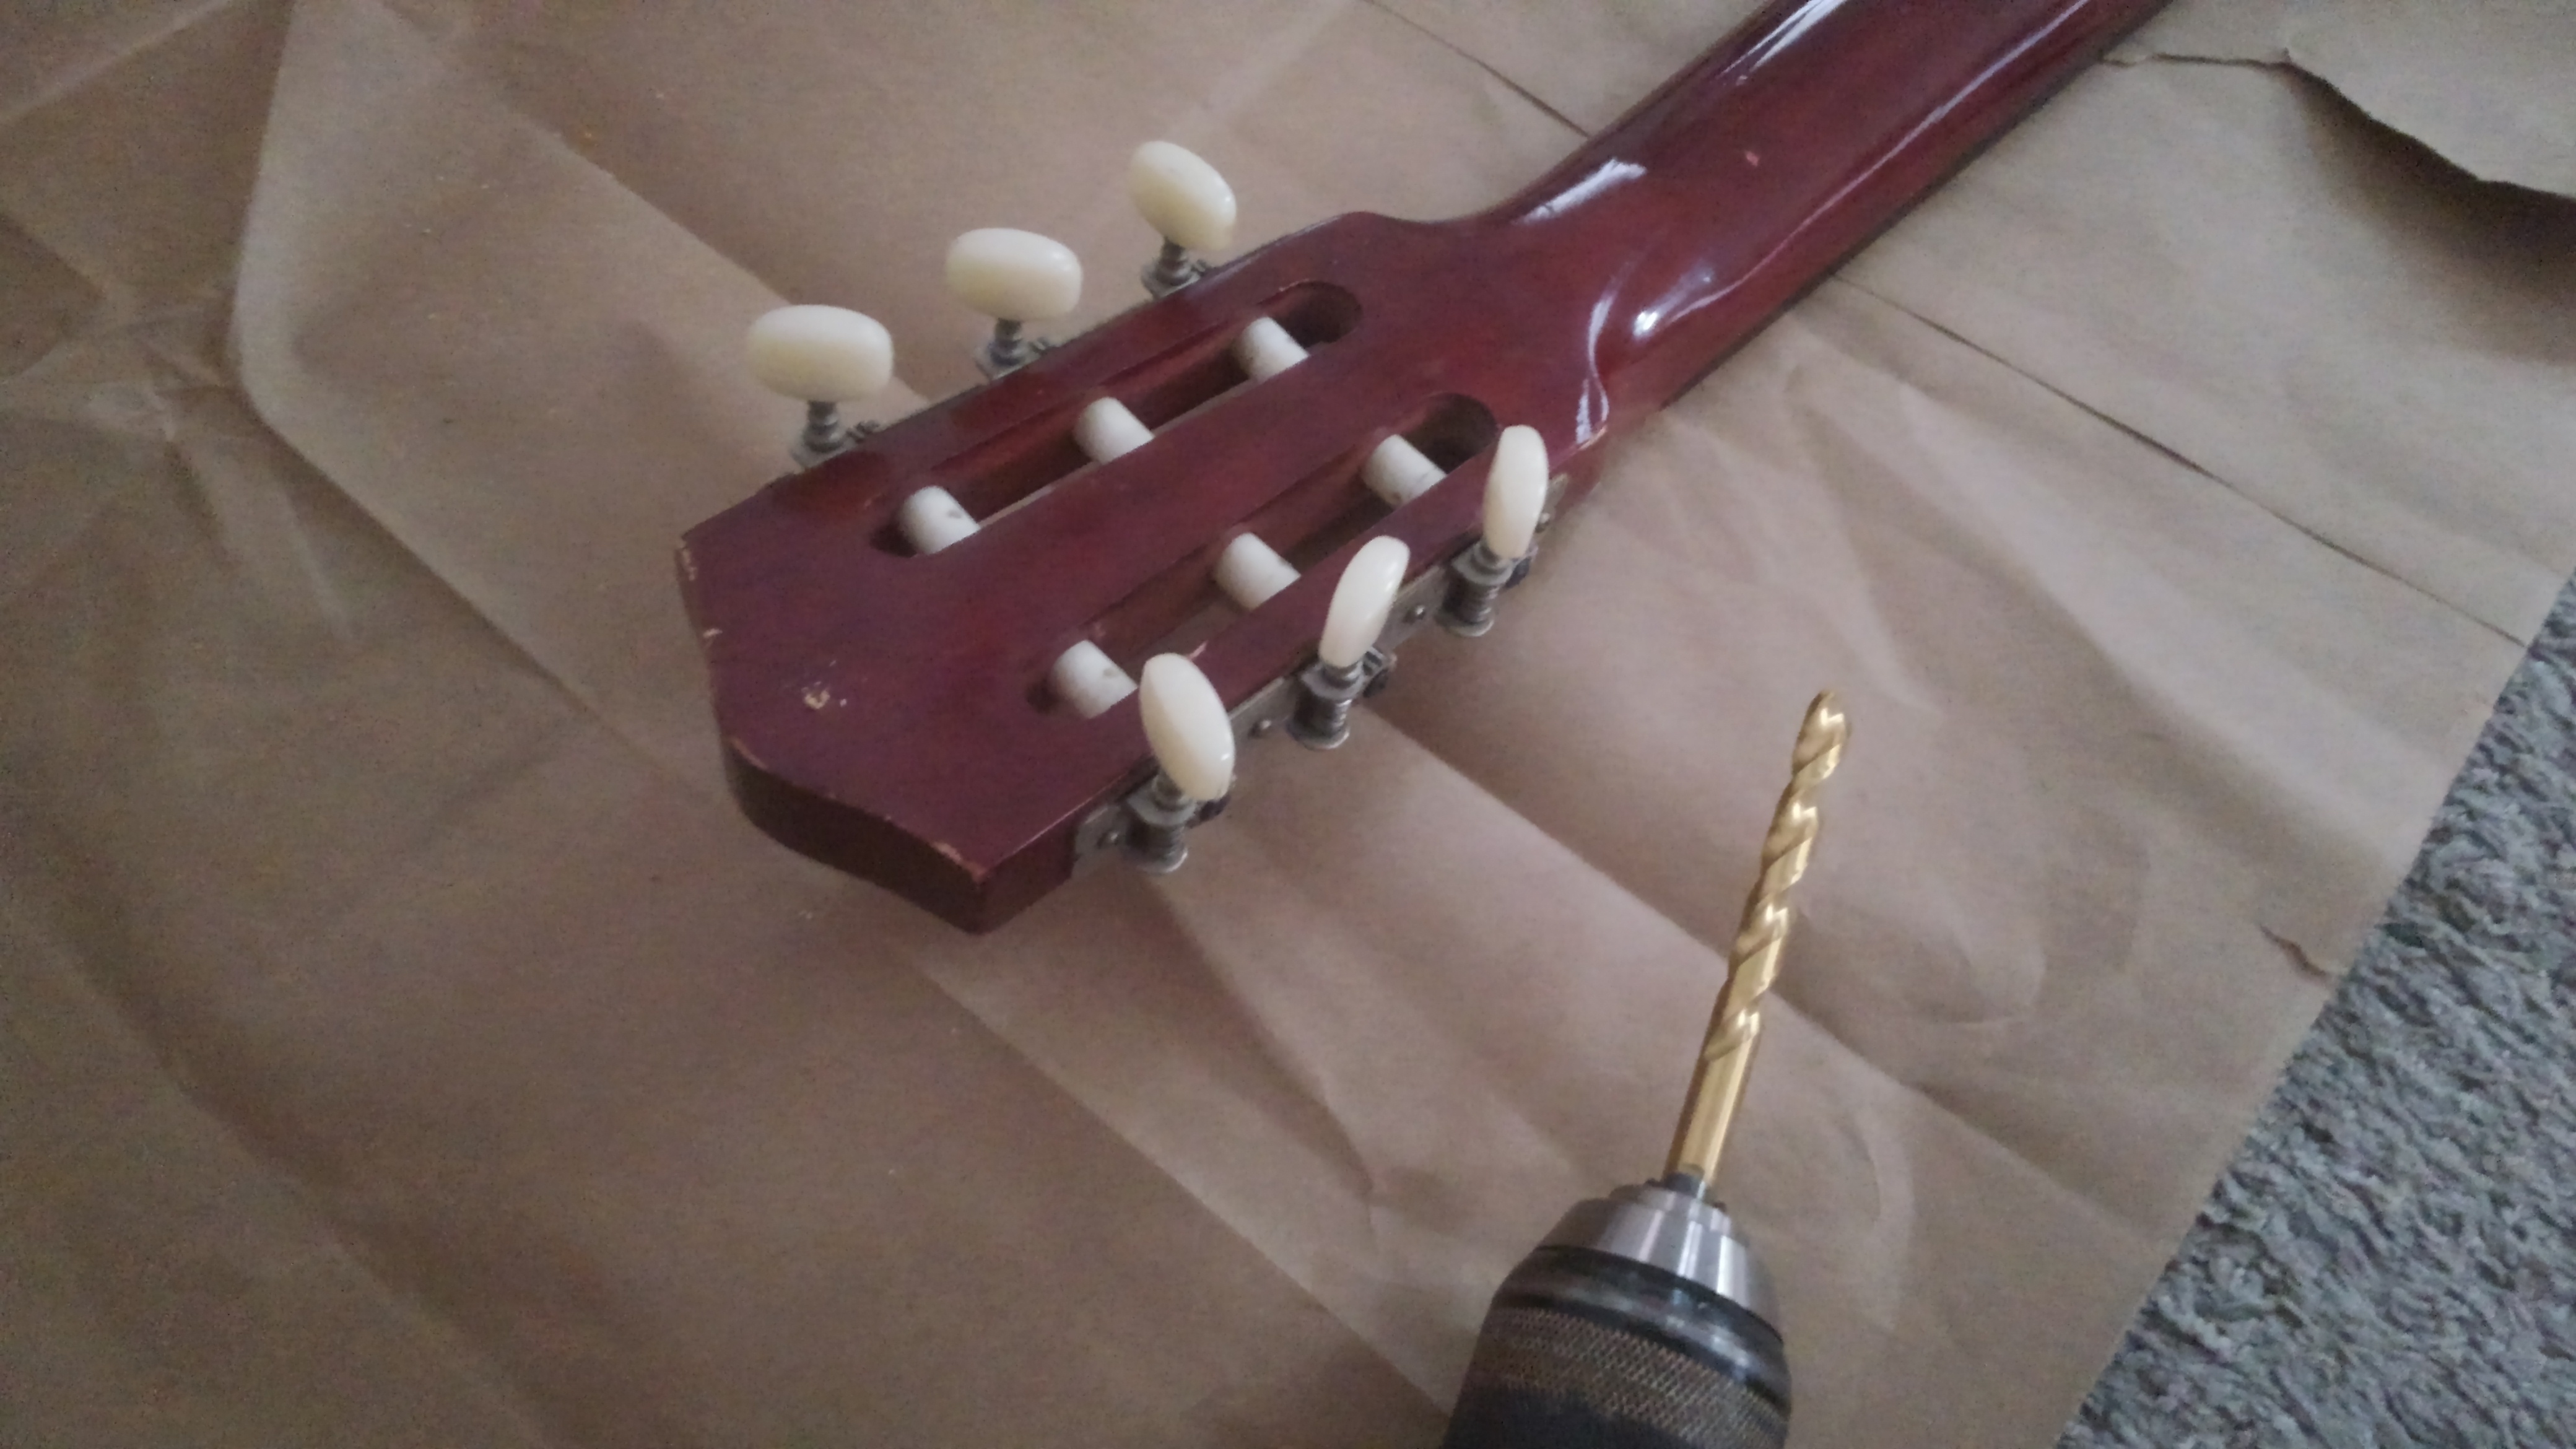
Pilot hole drilled in the headstock, about to drill the actual hole
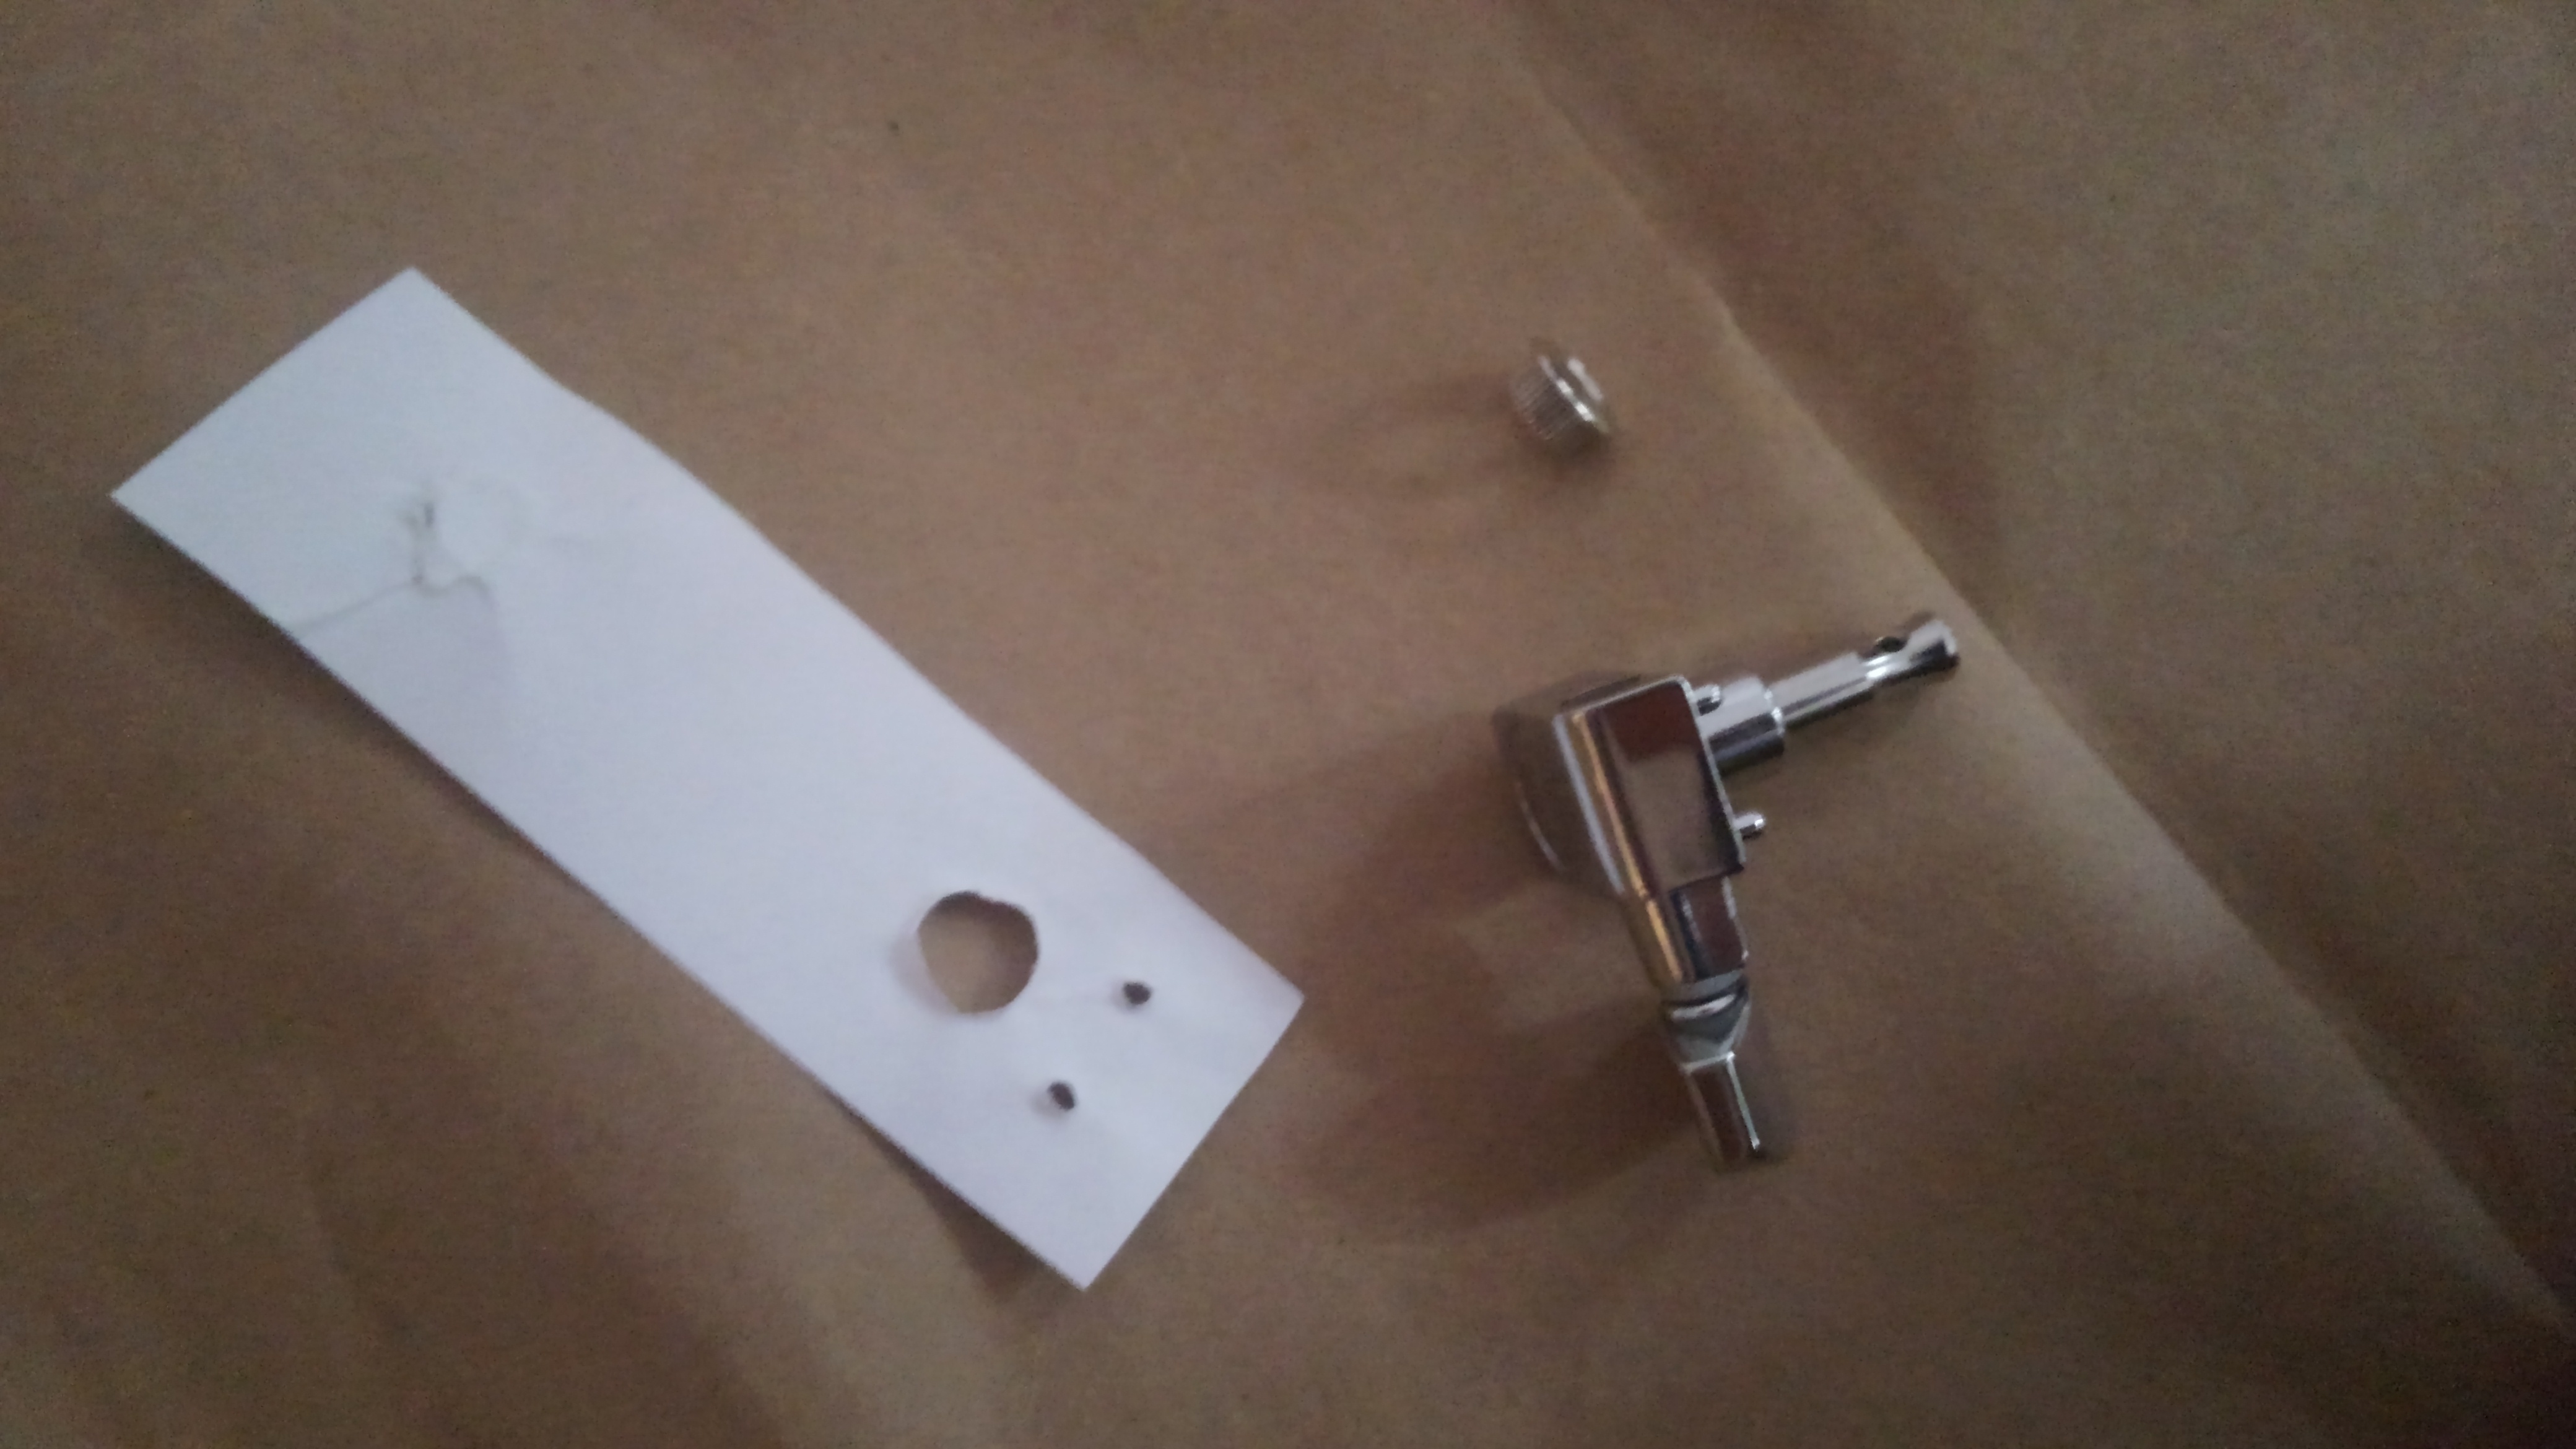
My amateurish template made by forcing a piece of paper over the tuning peg to get holes in the right spots. Those extra little holes are for the little pegs that keep the tuning machine from turning under tension.
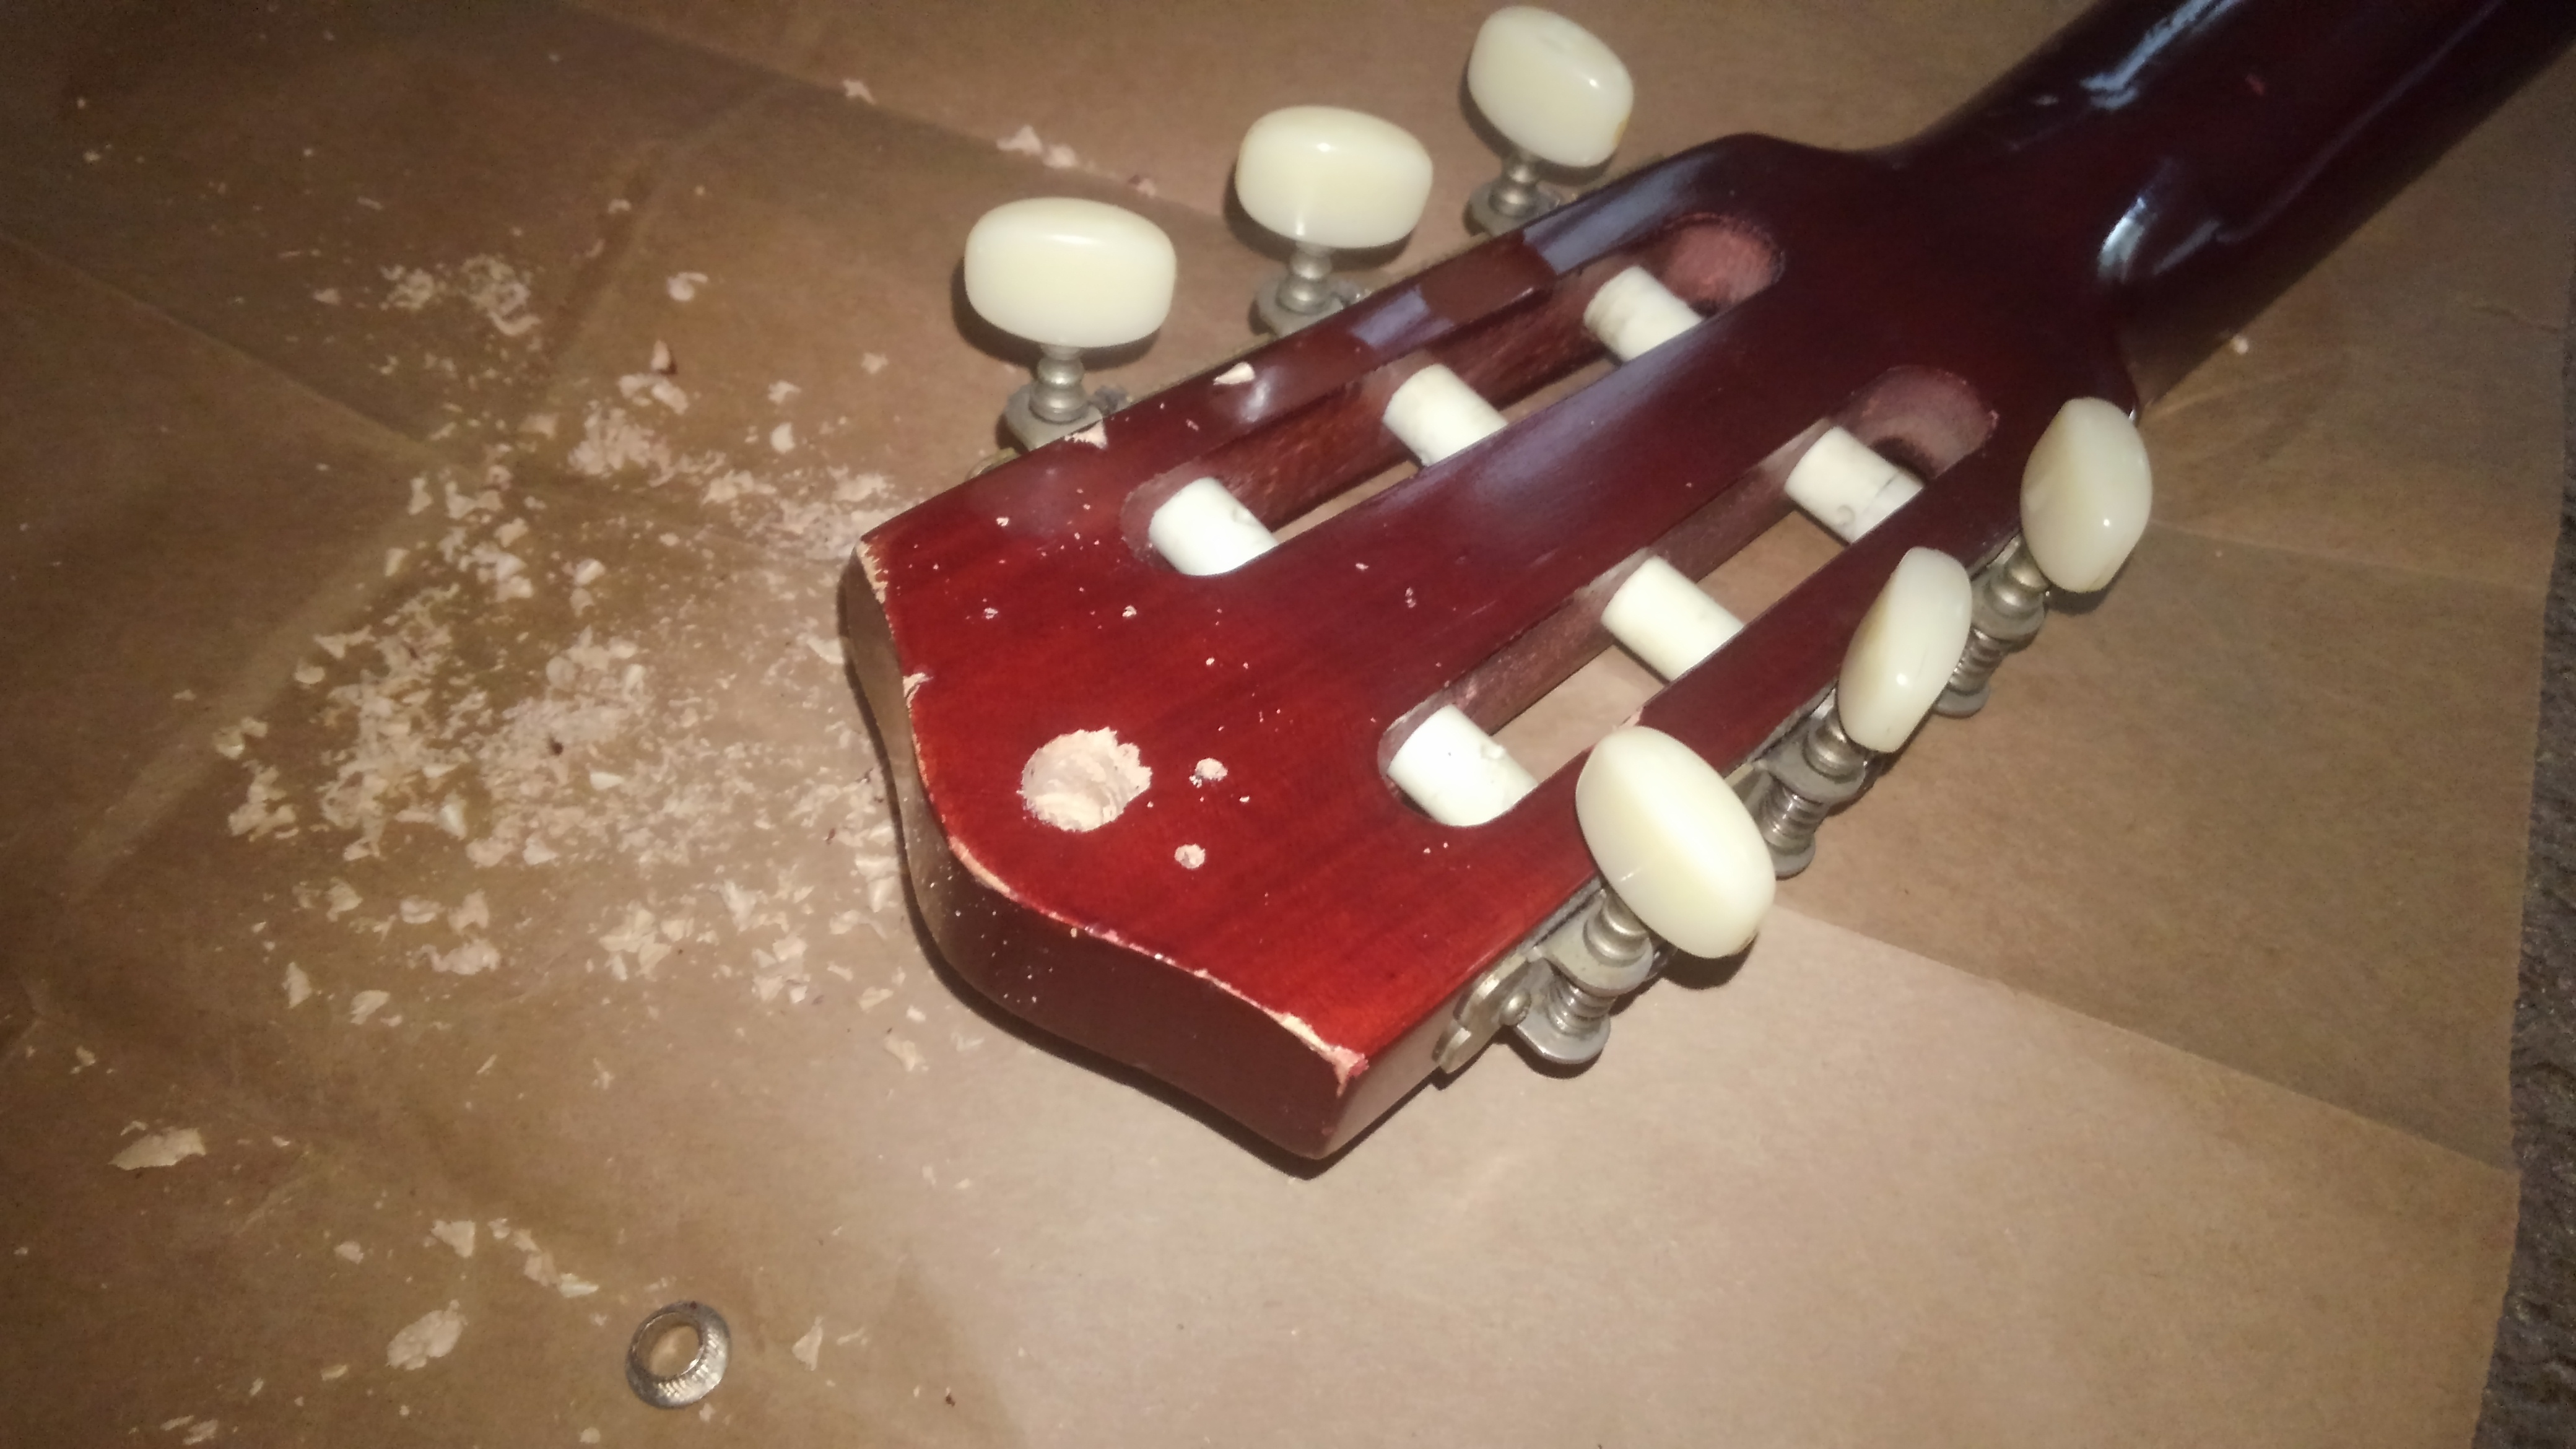
Holes drilled, thank God the tuning machine will cover this ugliness
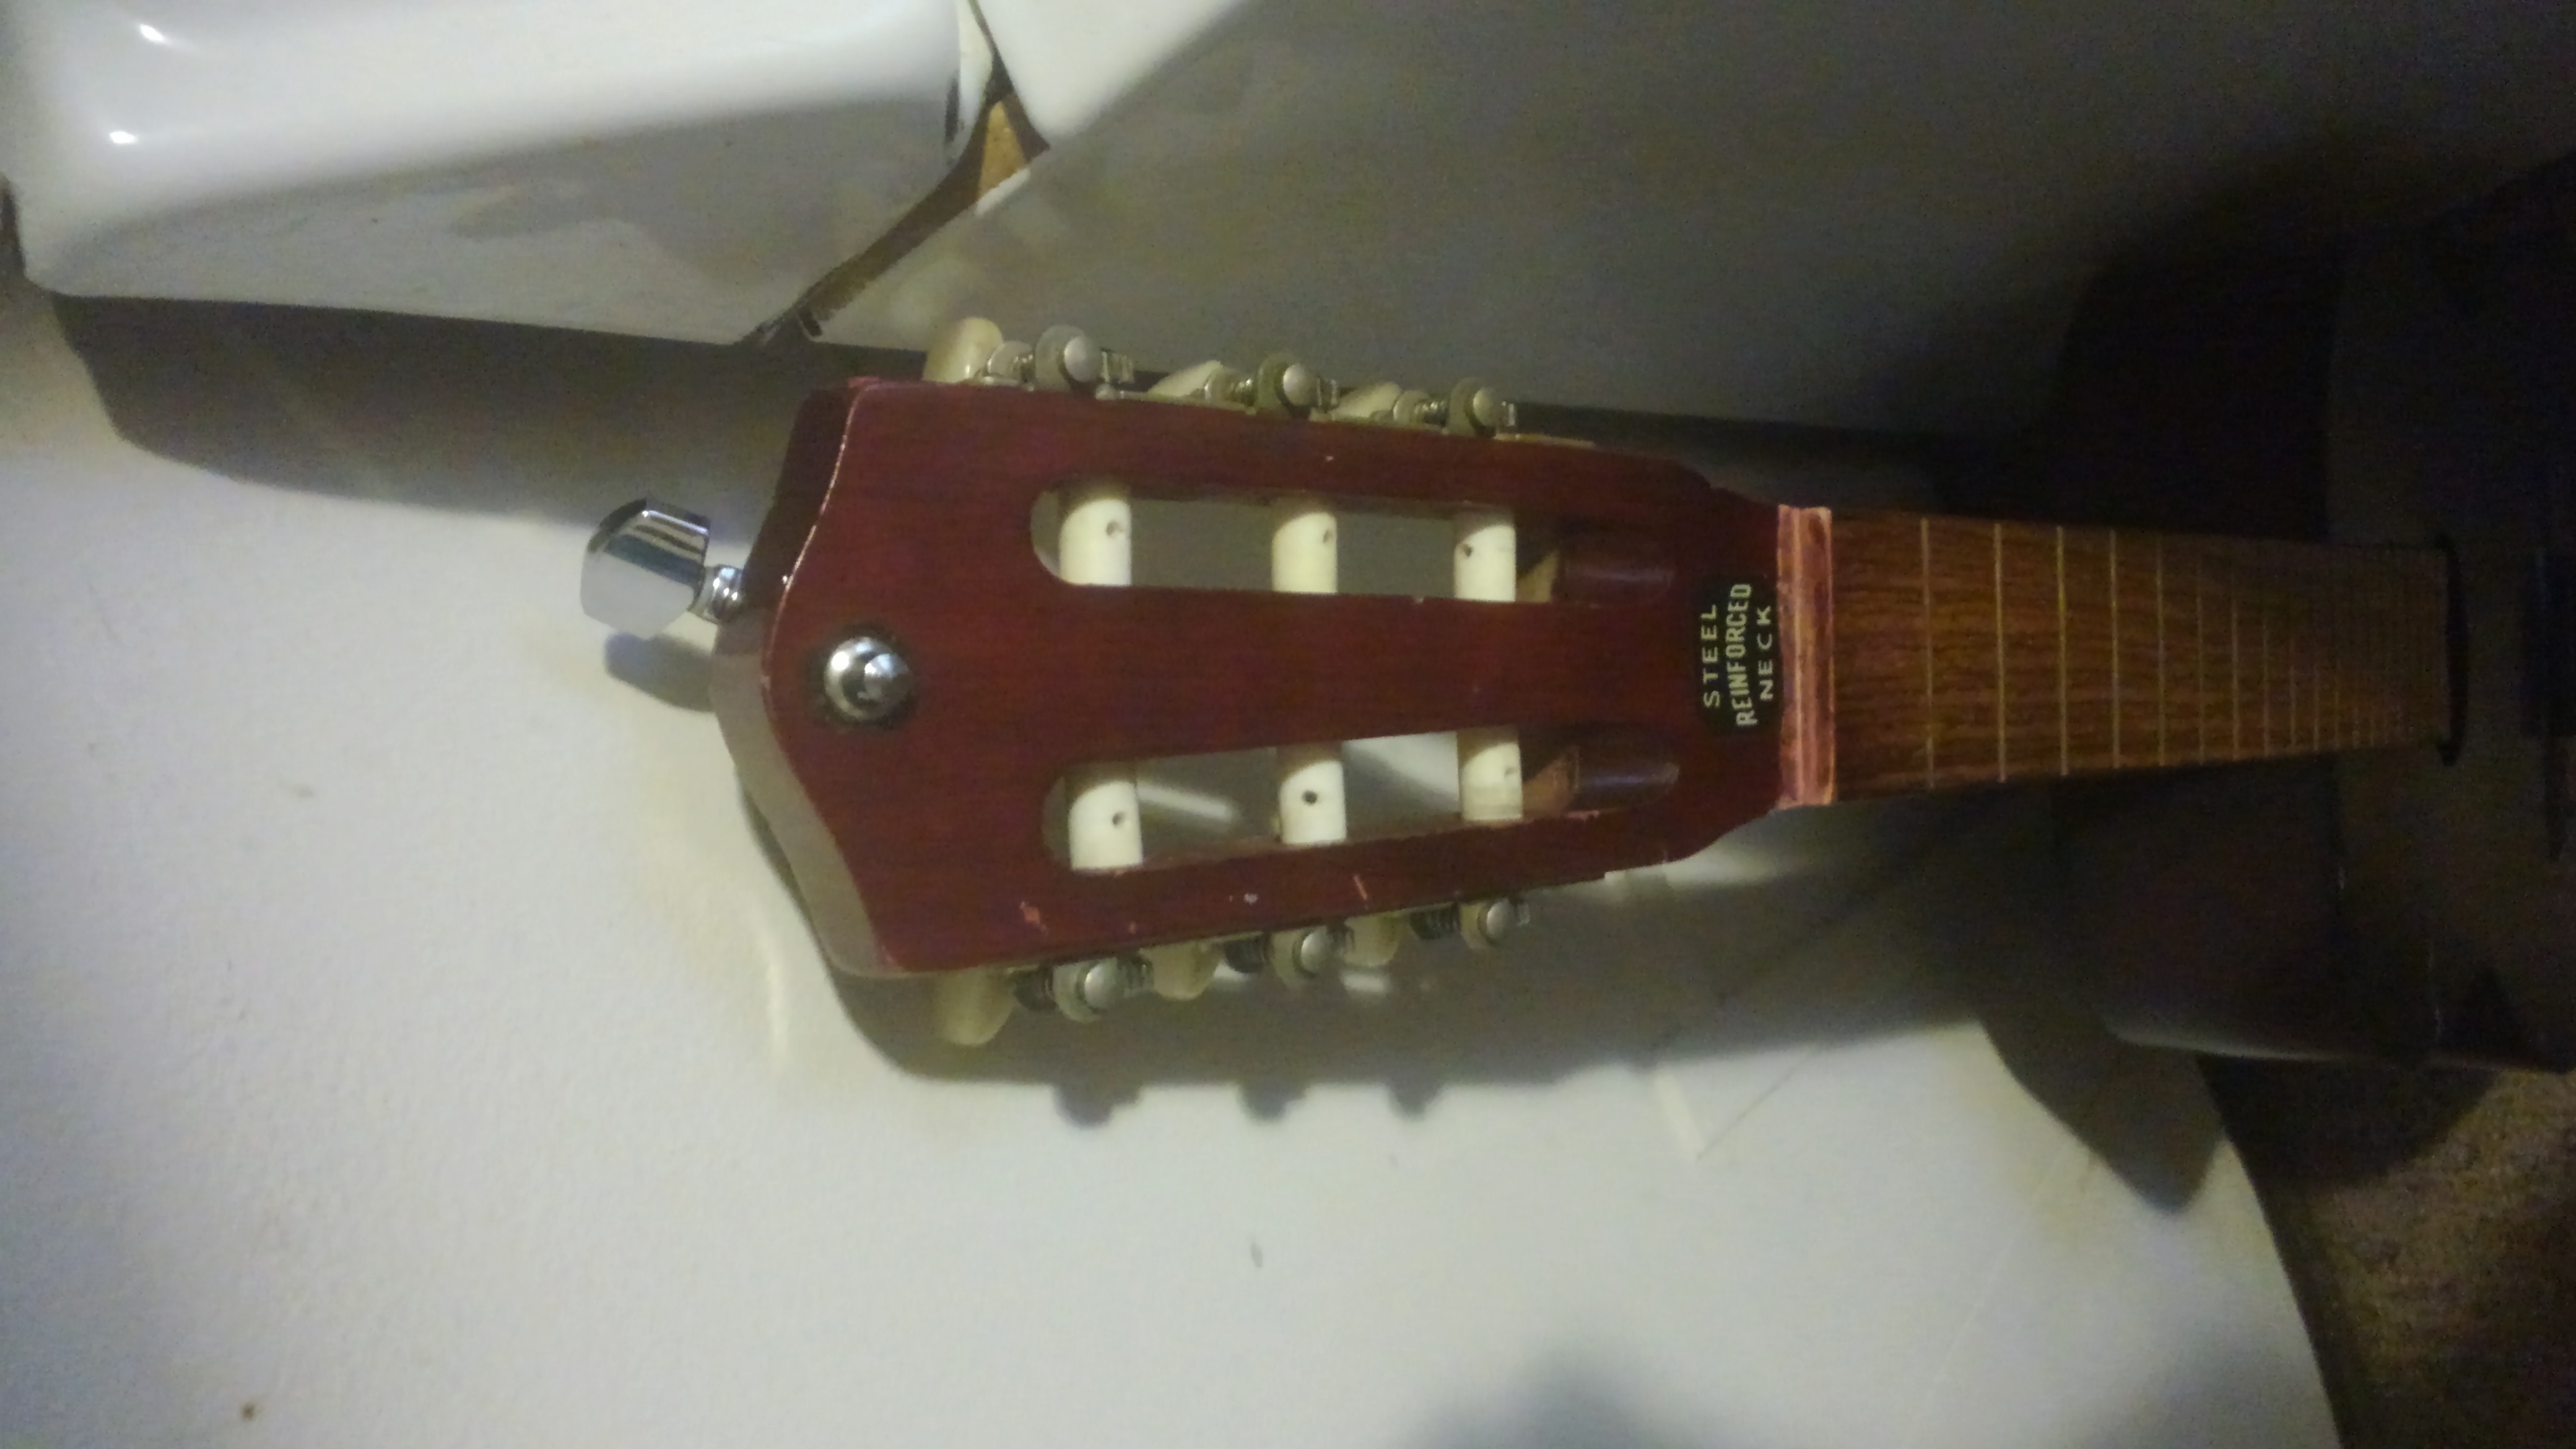
Tuning machine installed, hole badly disguised with a brown Sharpie. :P I'll do it properly with sandpaper and wood filler when I get to the point of using the wood filler on the bridge; I think it's the sort of thing you mix and use immediately, so I want to have the bridge ready to go before I pull the trigger on that bit.
STEP OMITTED: Covering the tuning machine with a cloth and hammering it into place; I intentionally drilled those little holes a bit smaller than the pegs.
EDIT 2: Modifying the Bridge
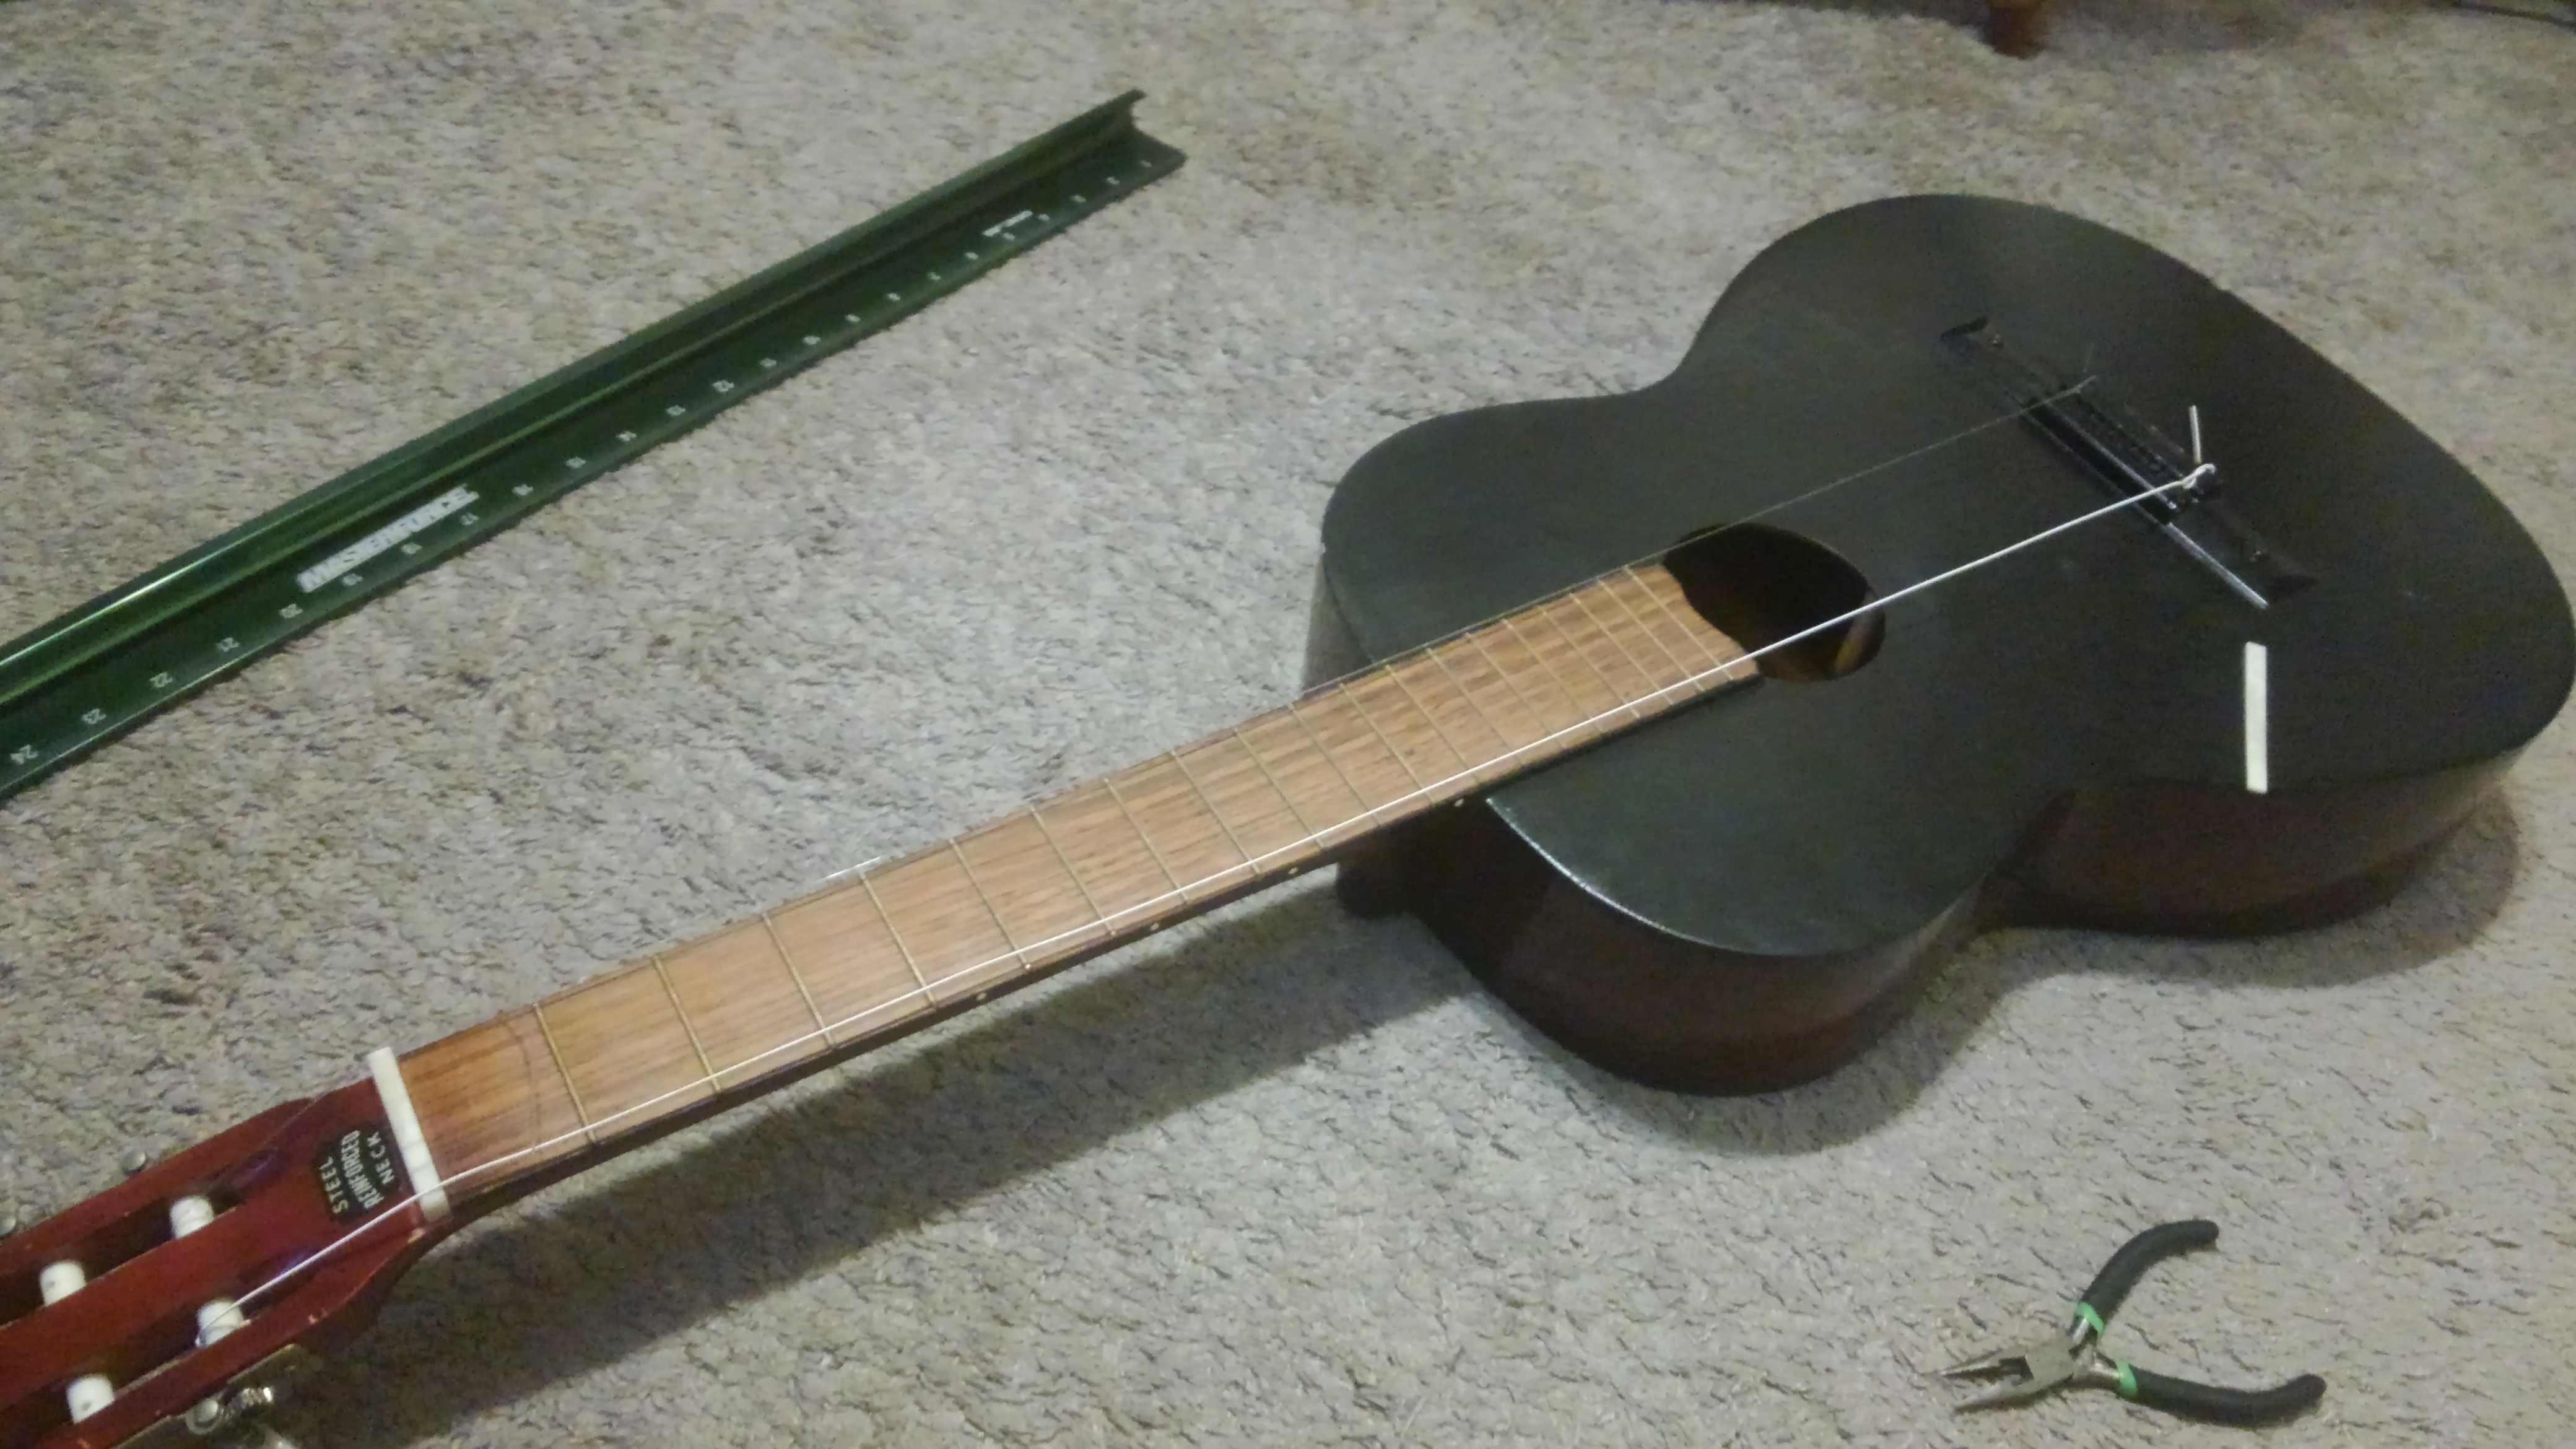
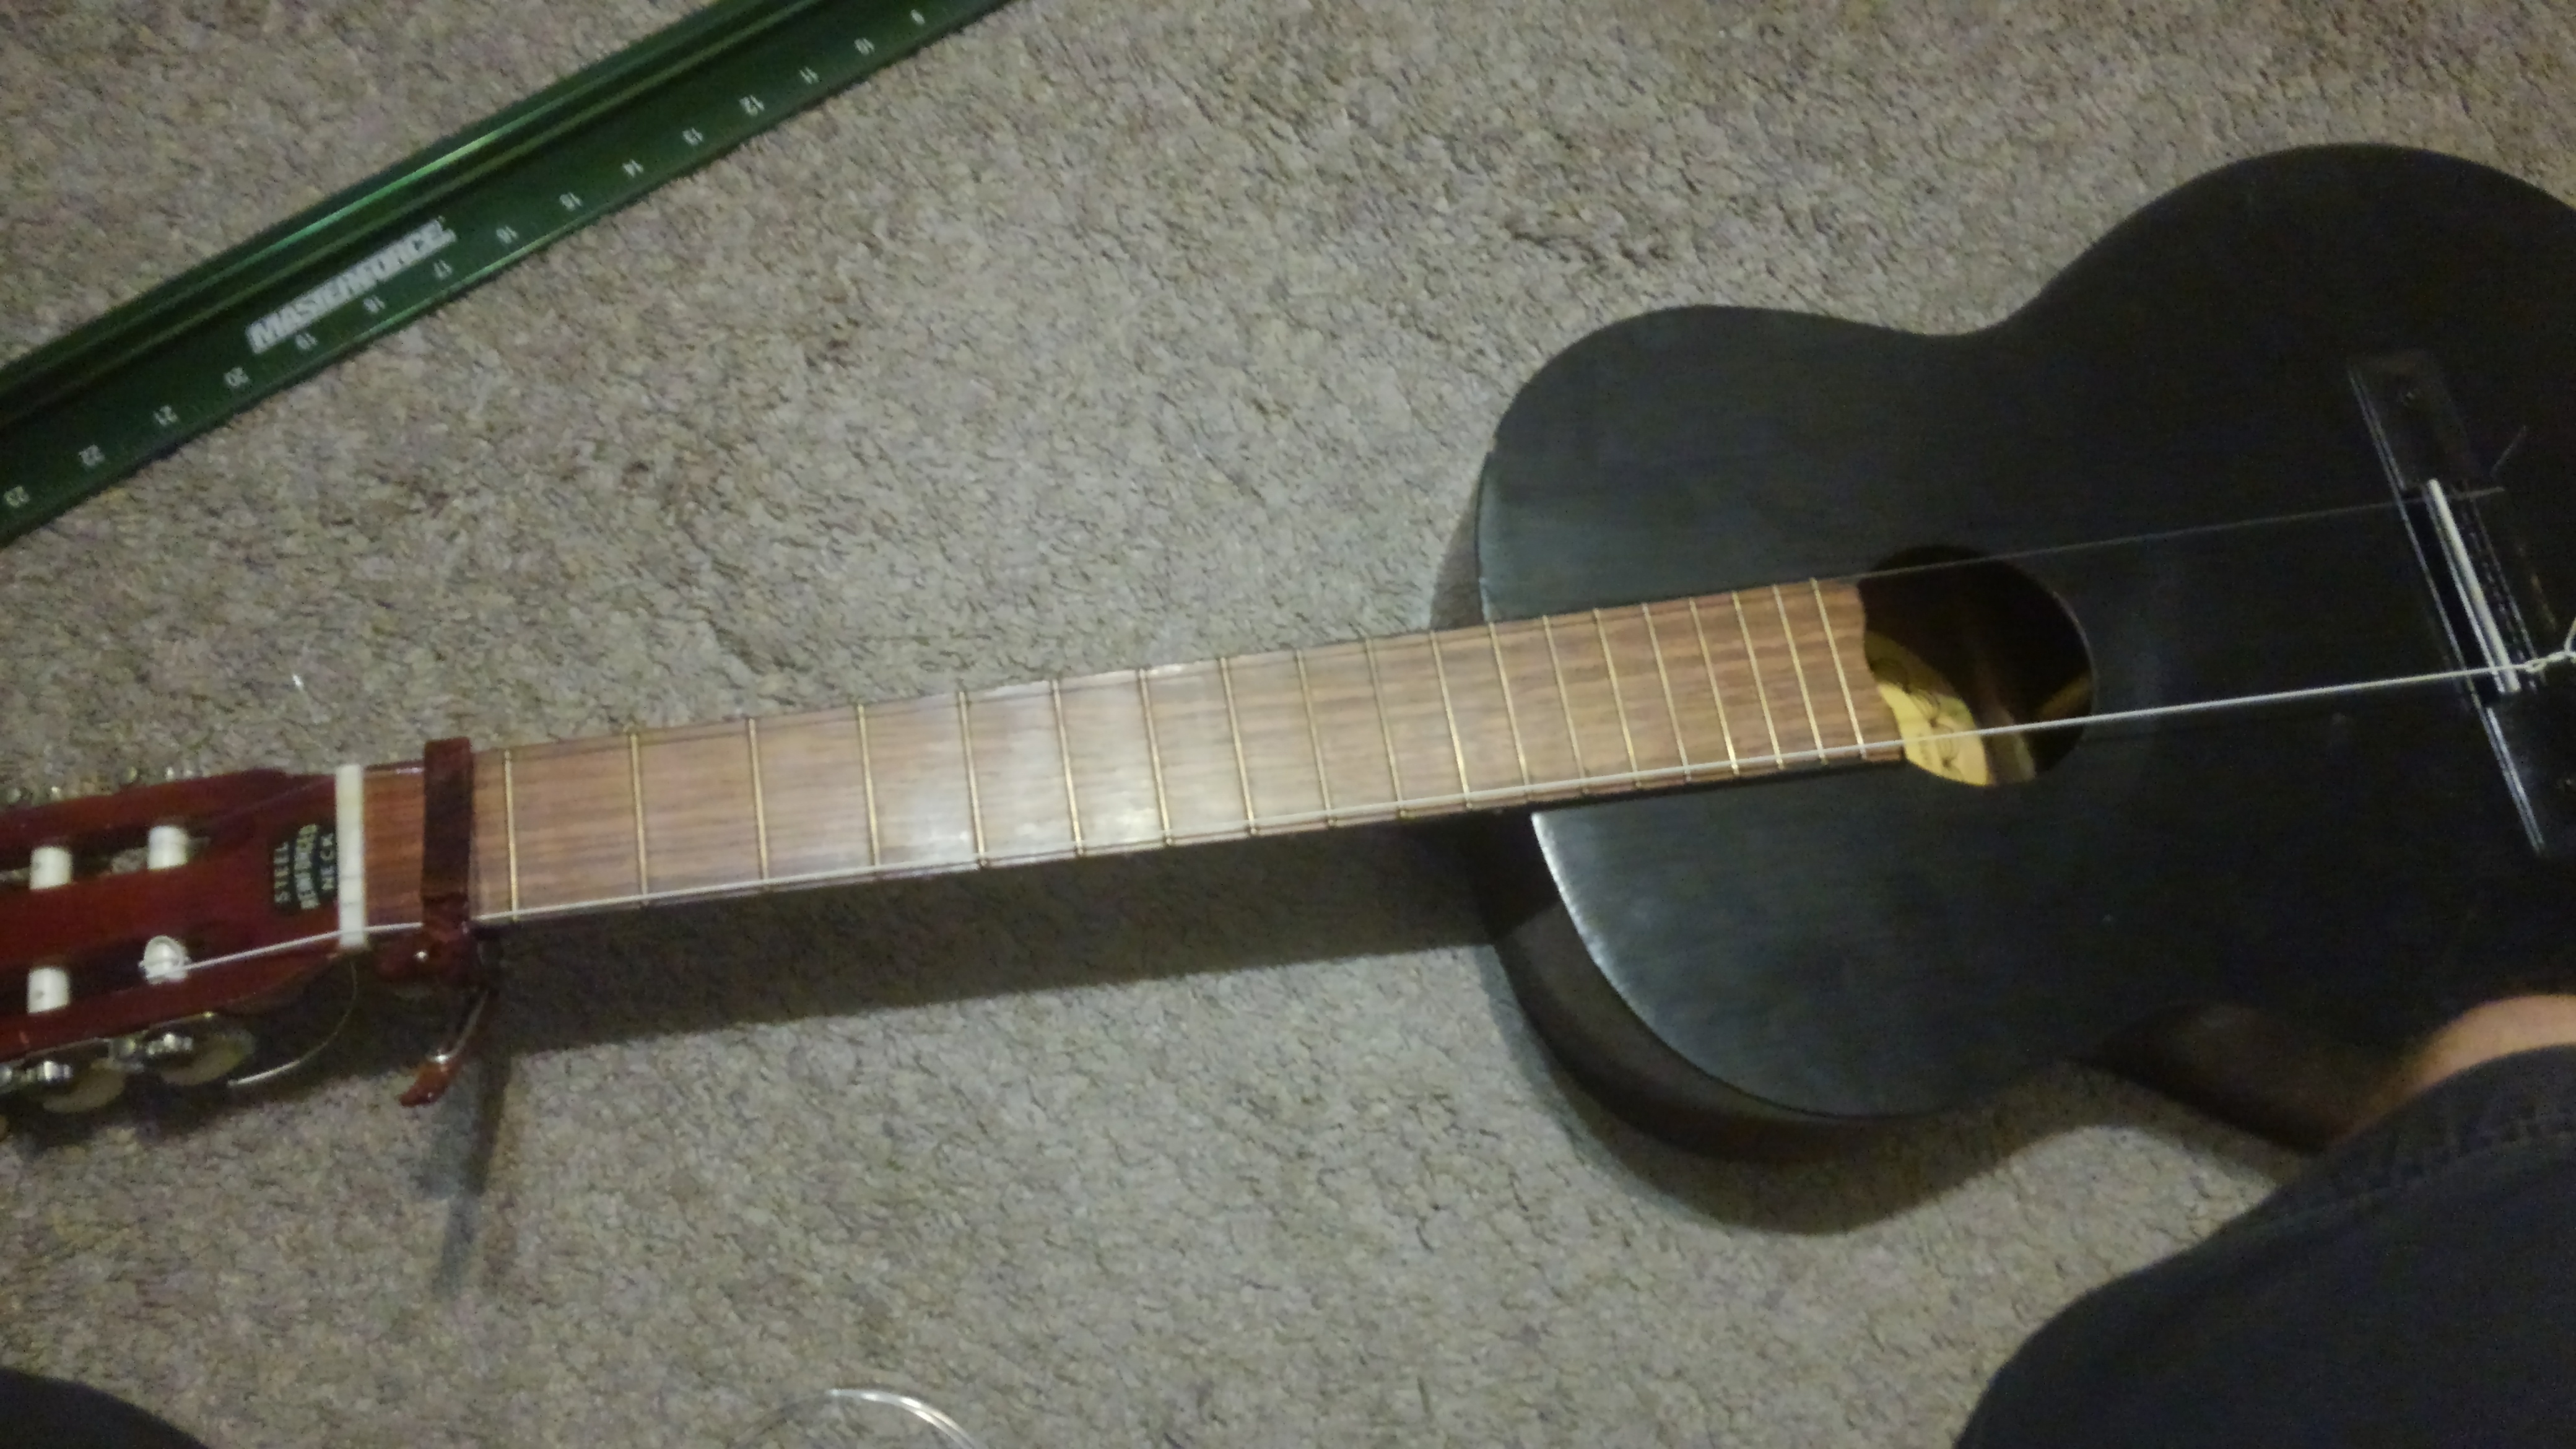
After consulting with a real luthier on #guitar on Freenode, I decided against removing the bridge. Off-camera, I filled the holes with wood filler, which was annoying (and the wood filler dissolved the paint right off). With this done, I laid a straightedge down the guitar where I wanted the top and bottom strings to lay on the fretboard, and marked the locations of the upper and lower string holes on the bridge.
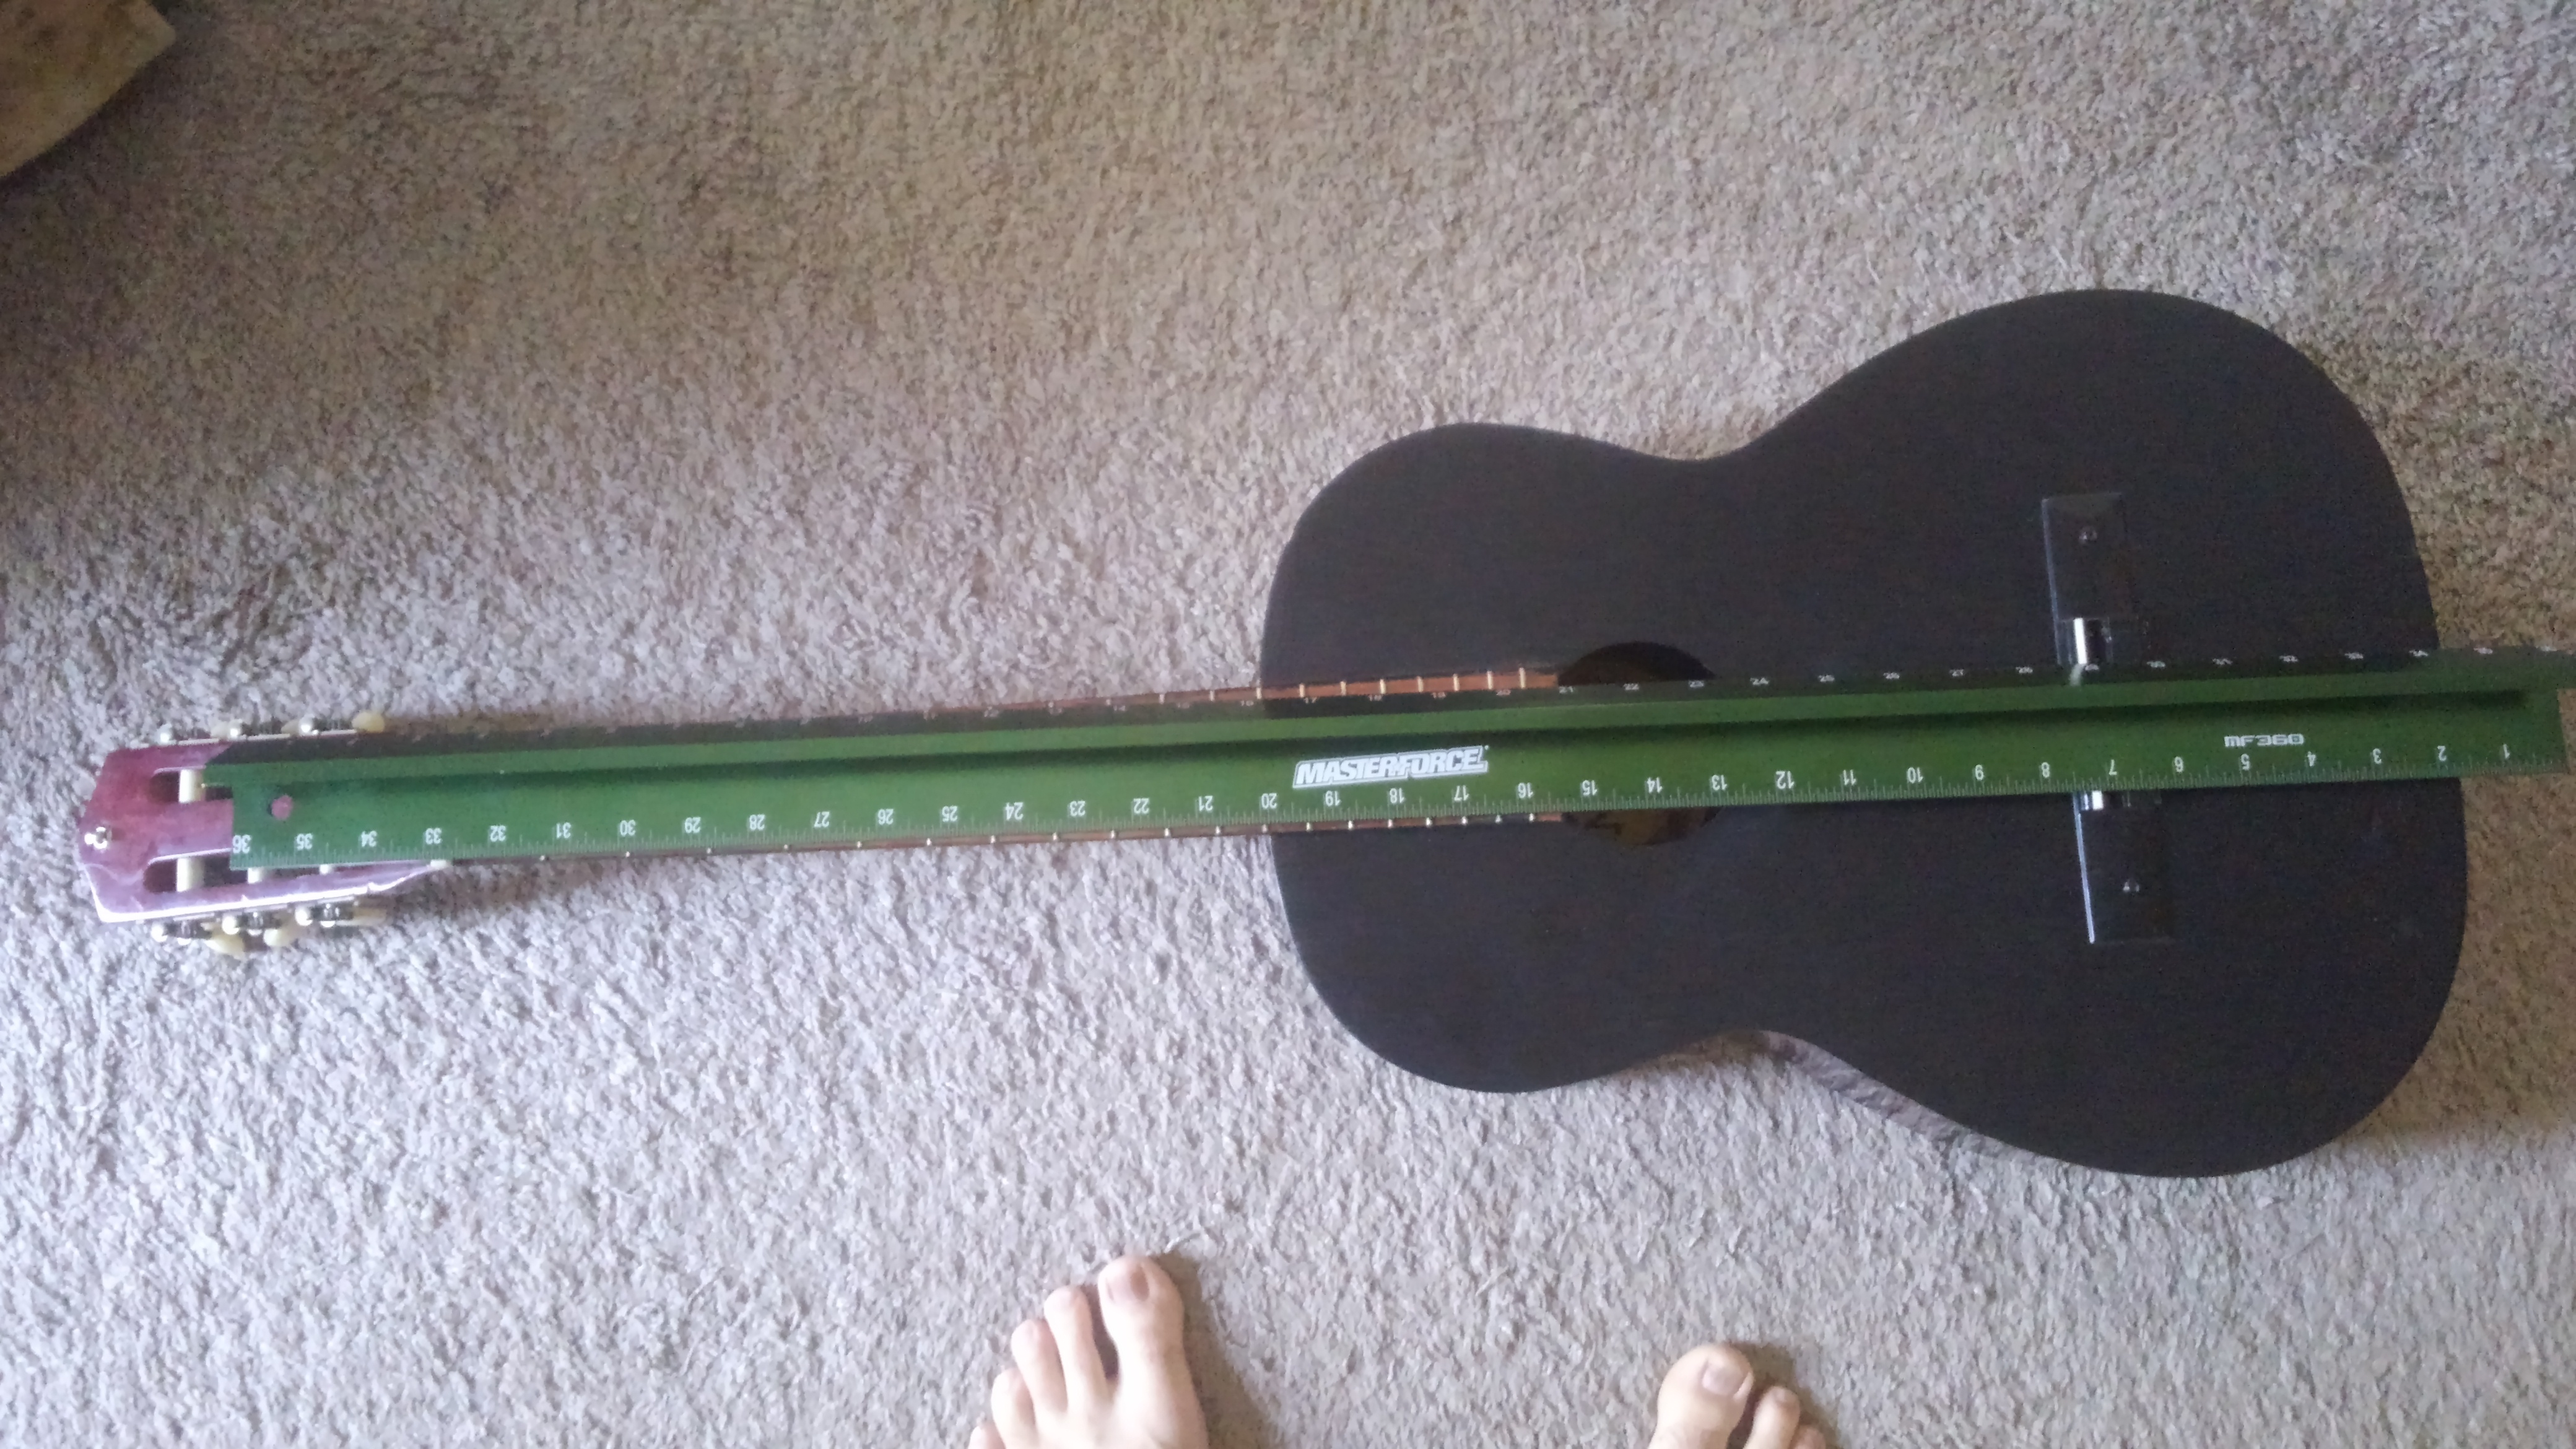
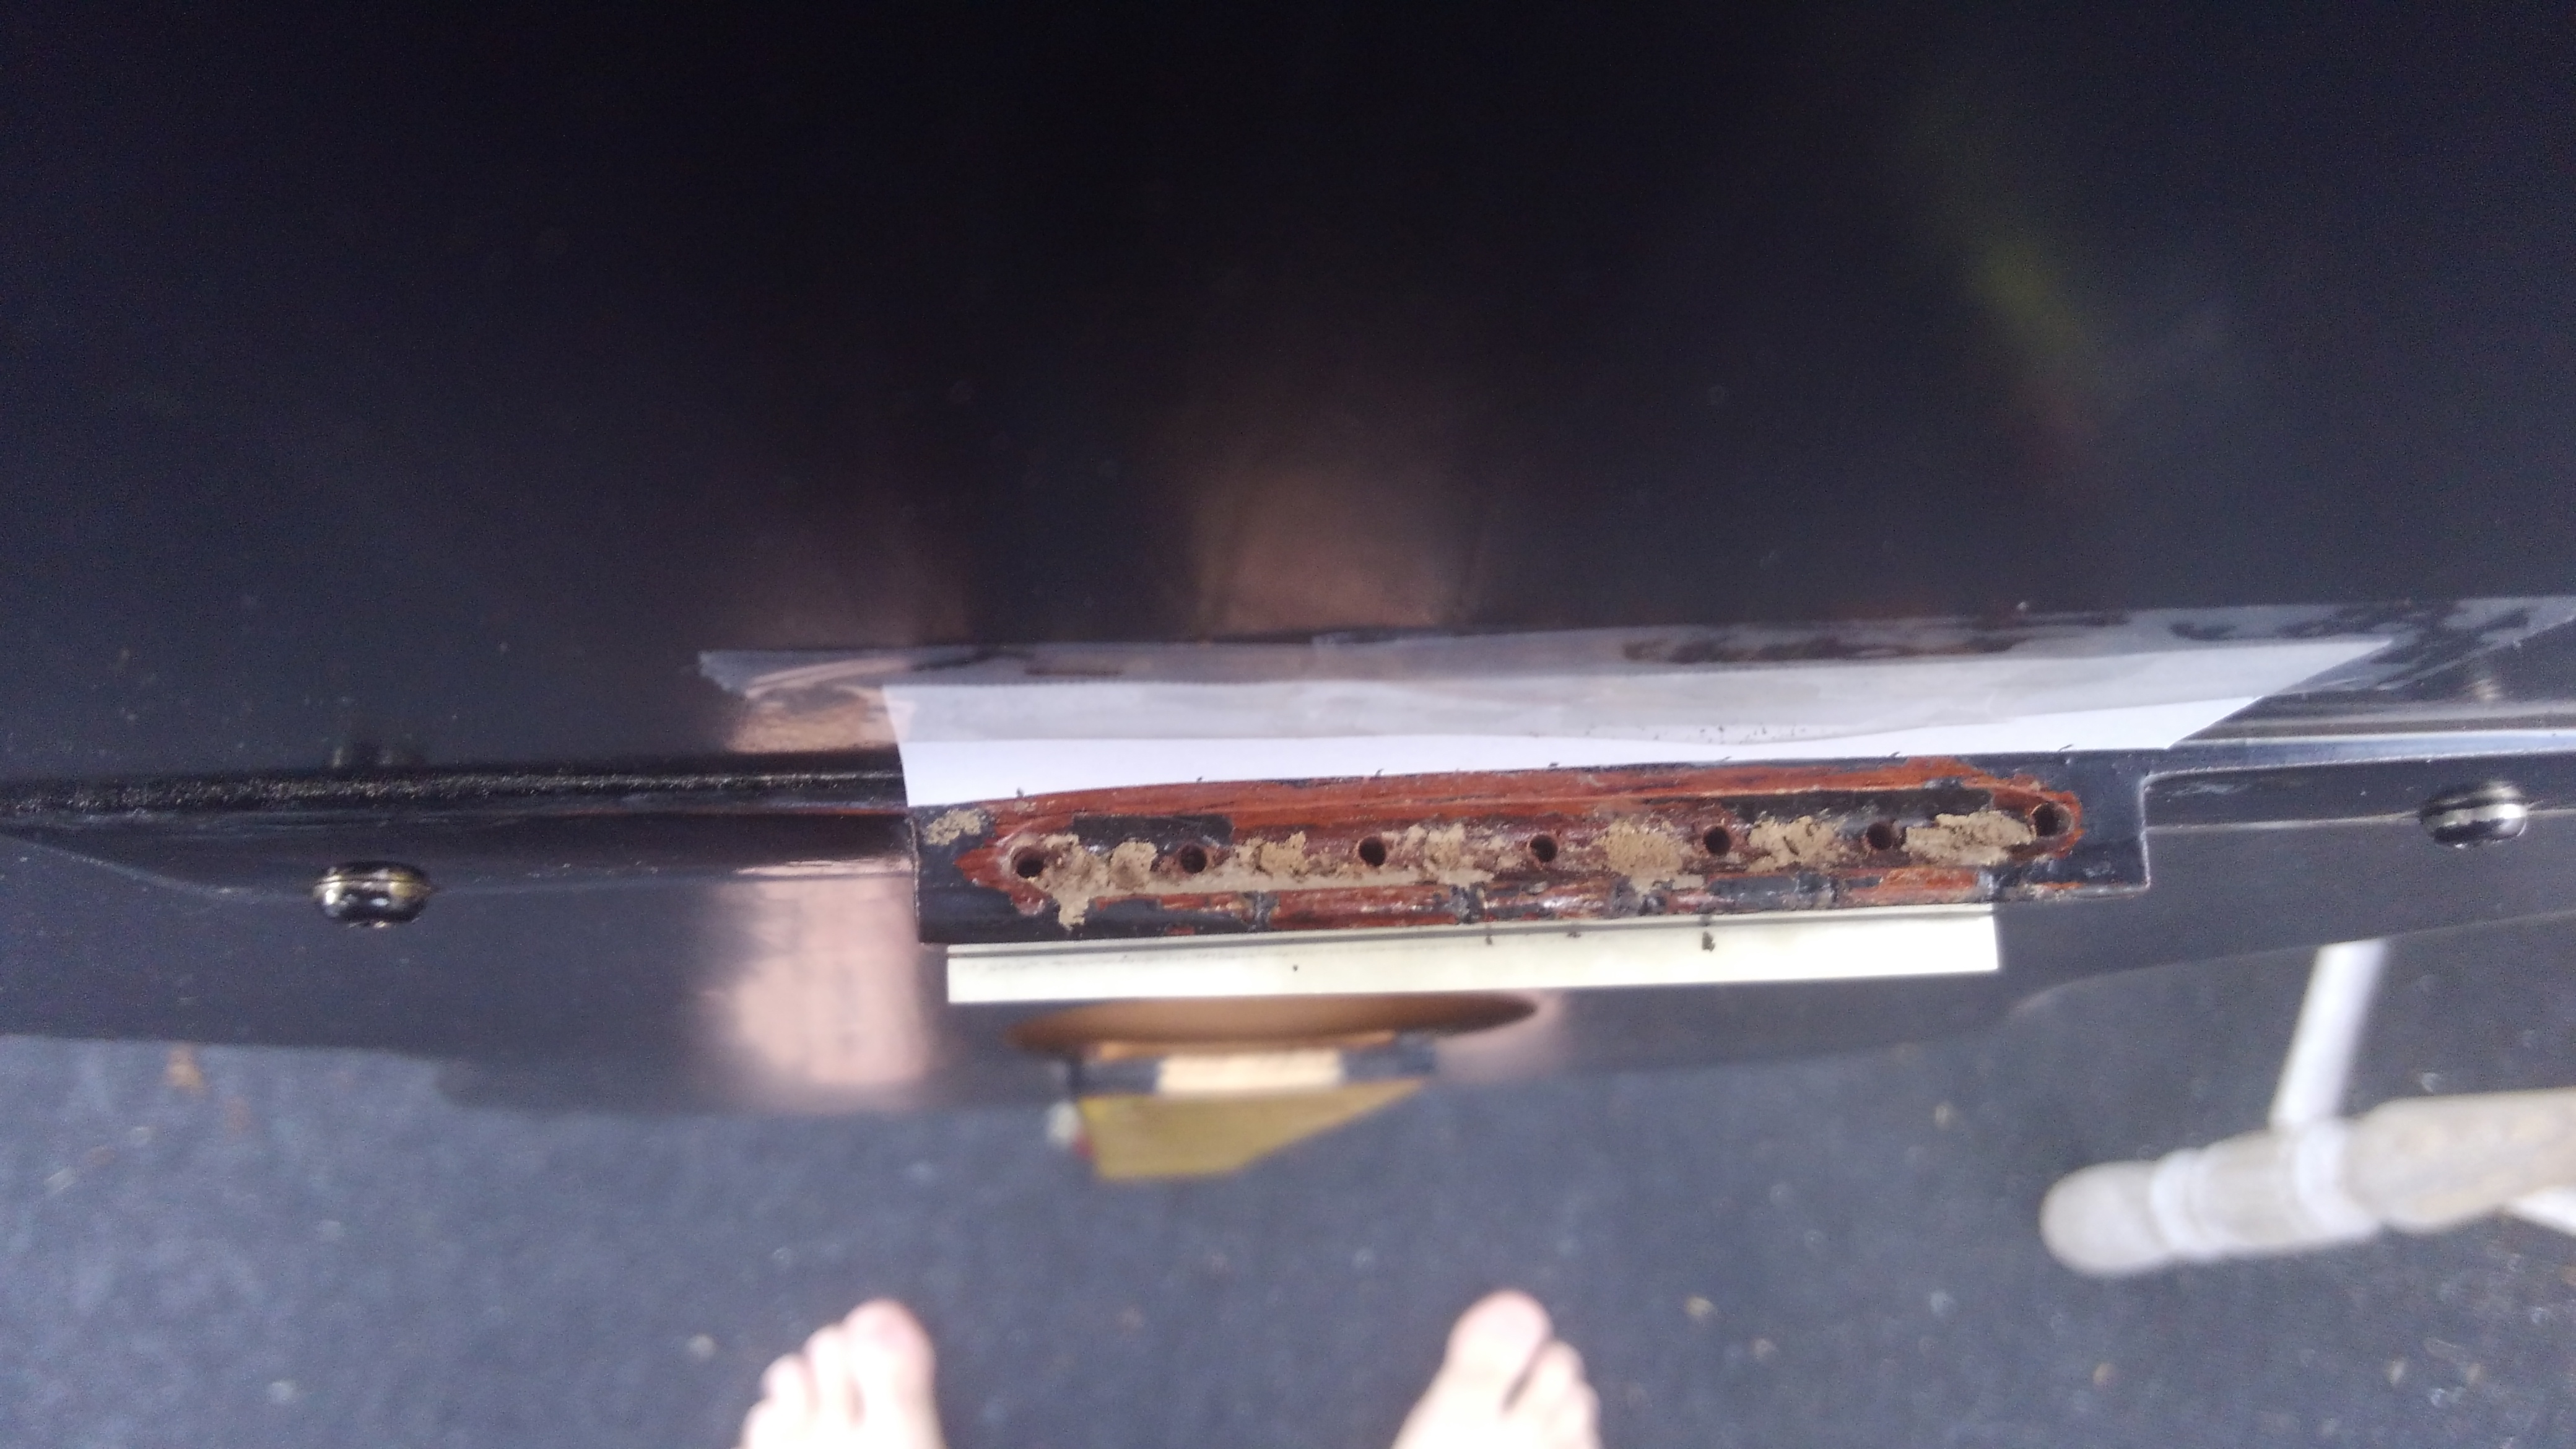
With this done, I drilled the upper and lower string holes where I'd marked, then measured the distance and made myself a template.
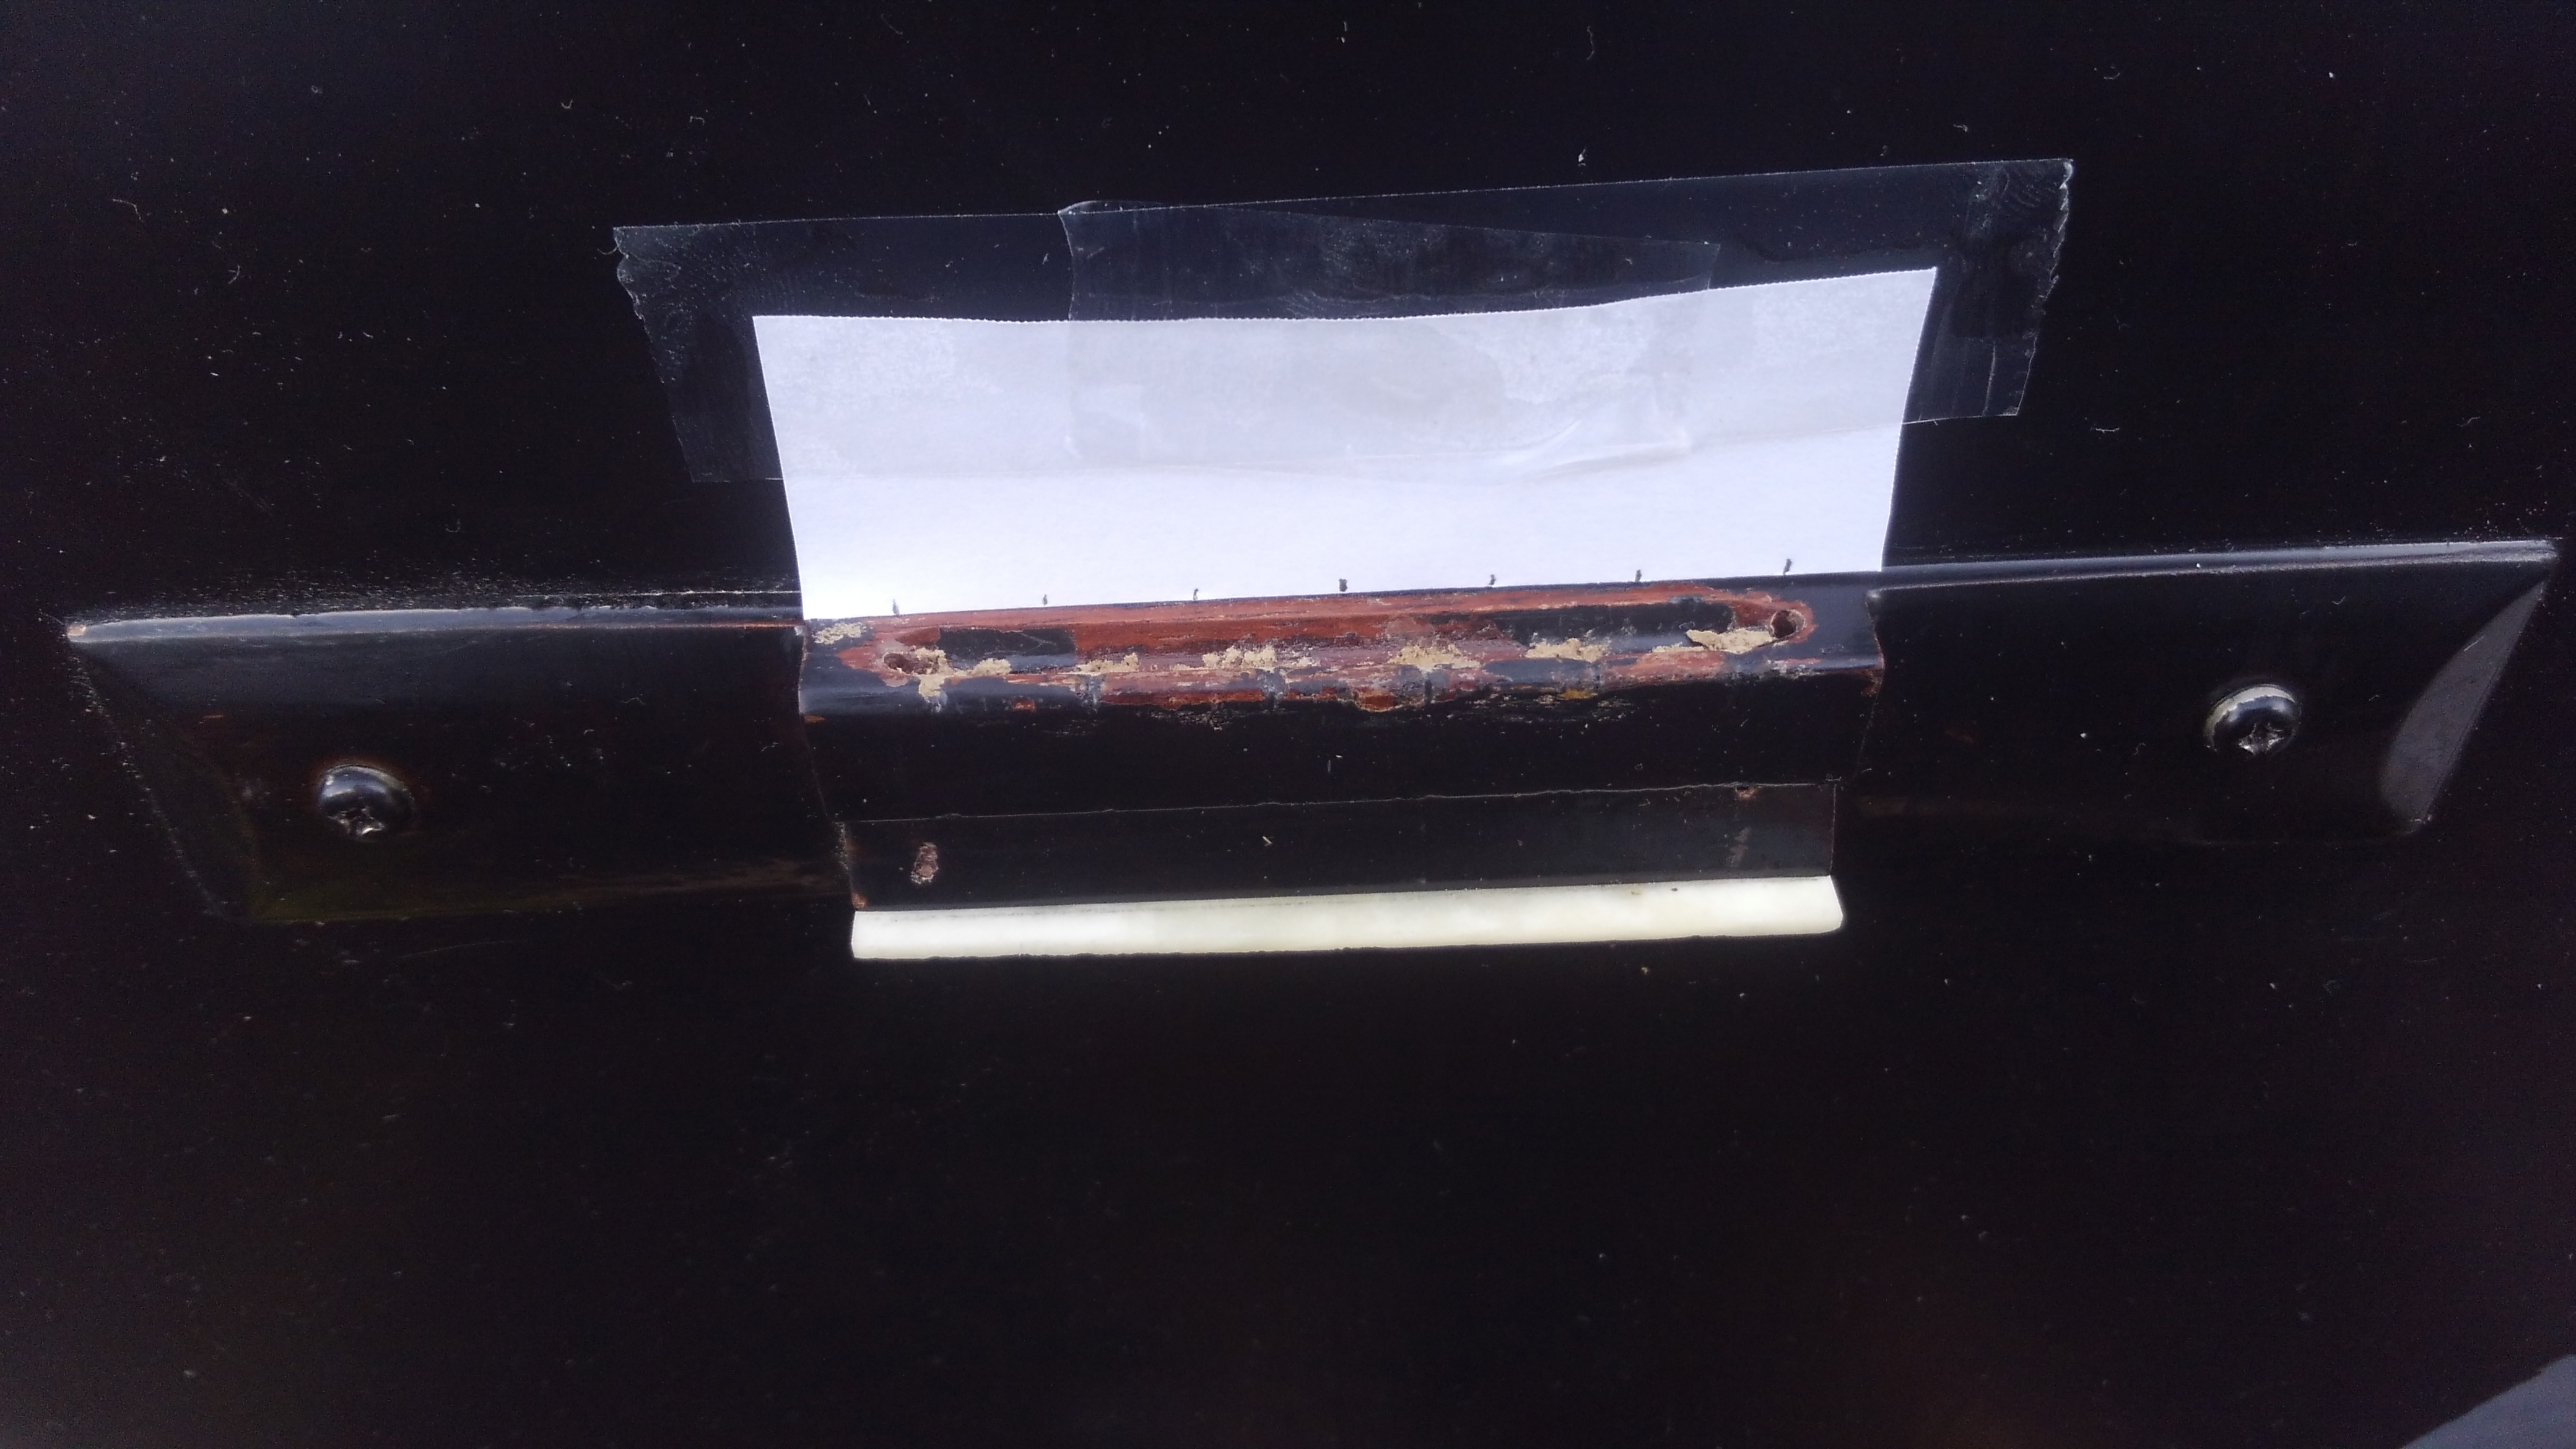
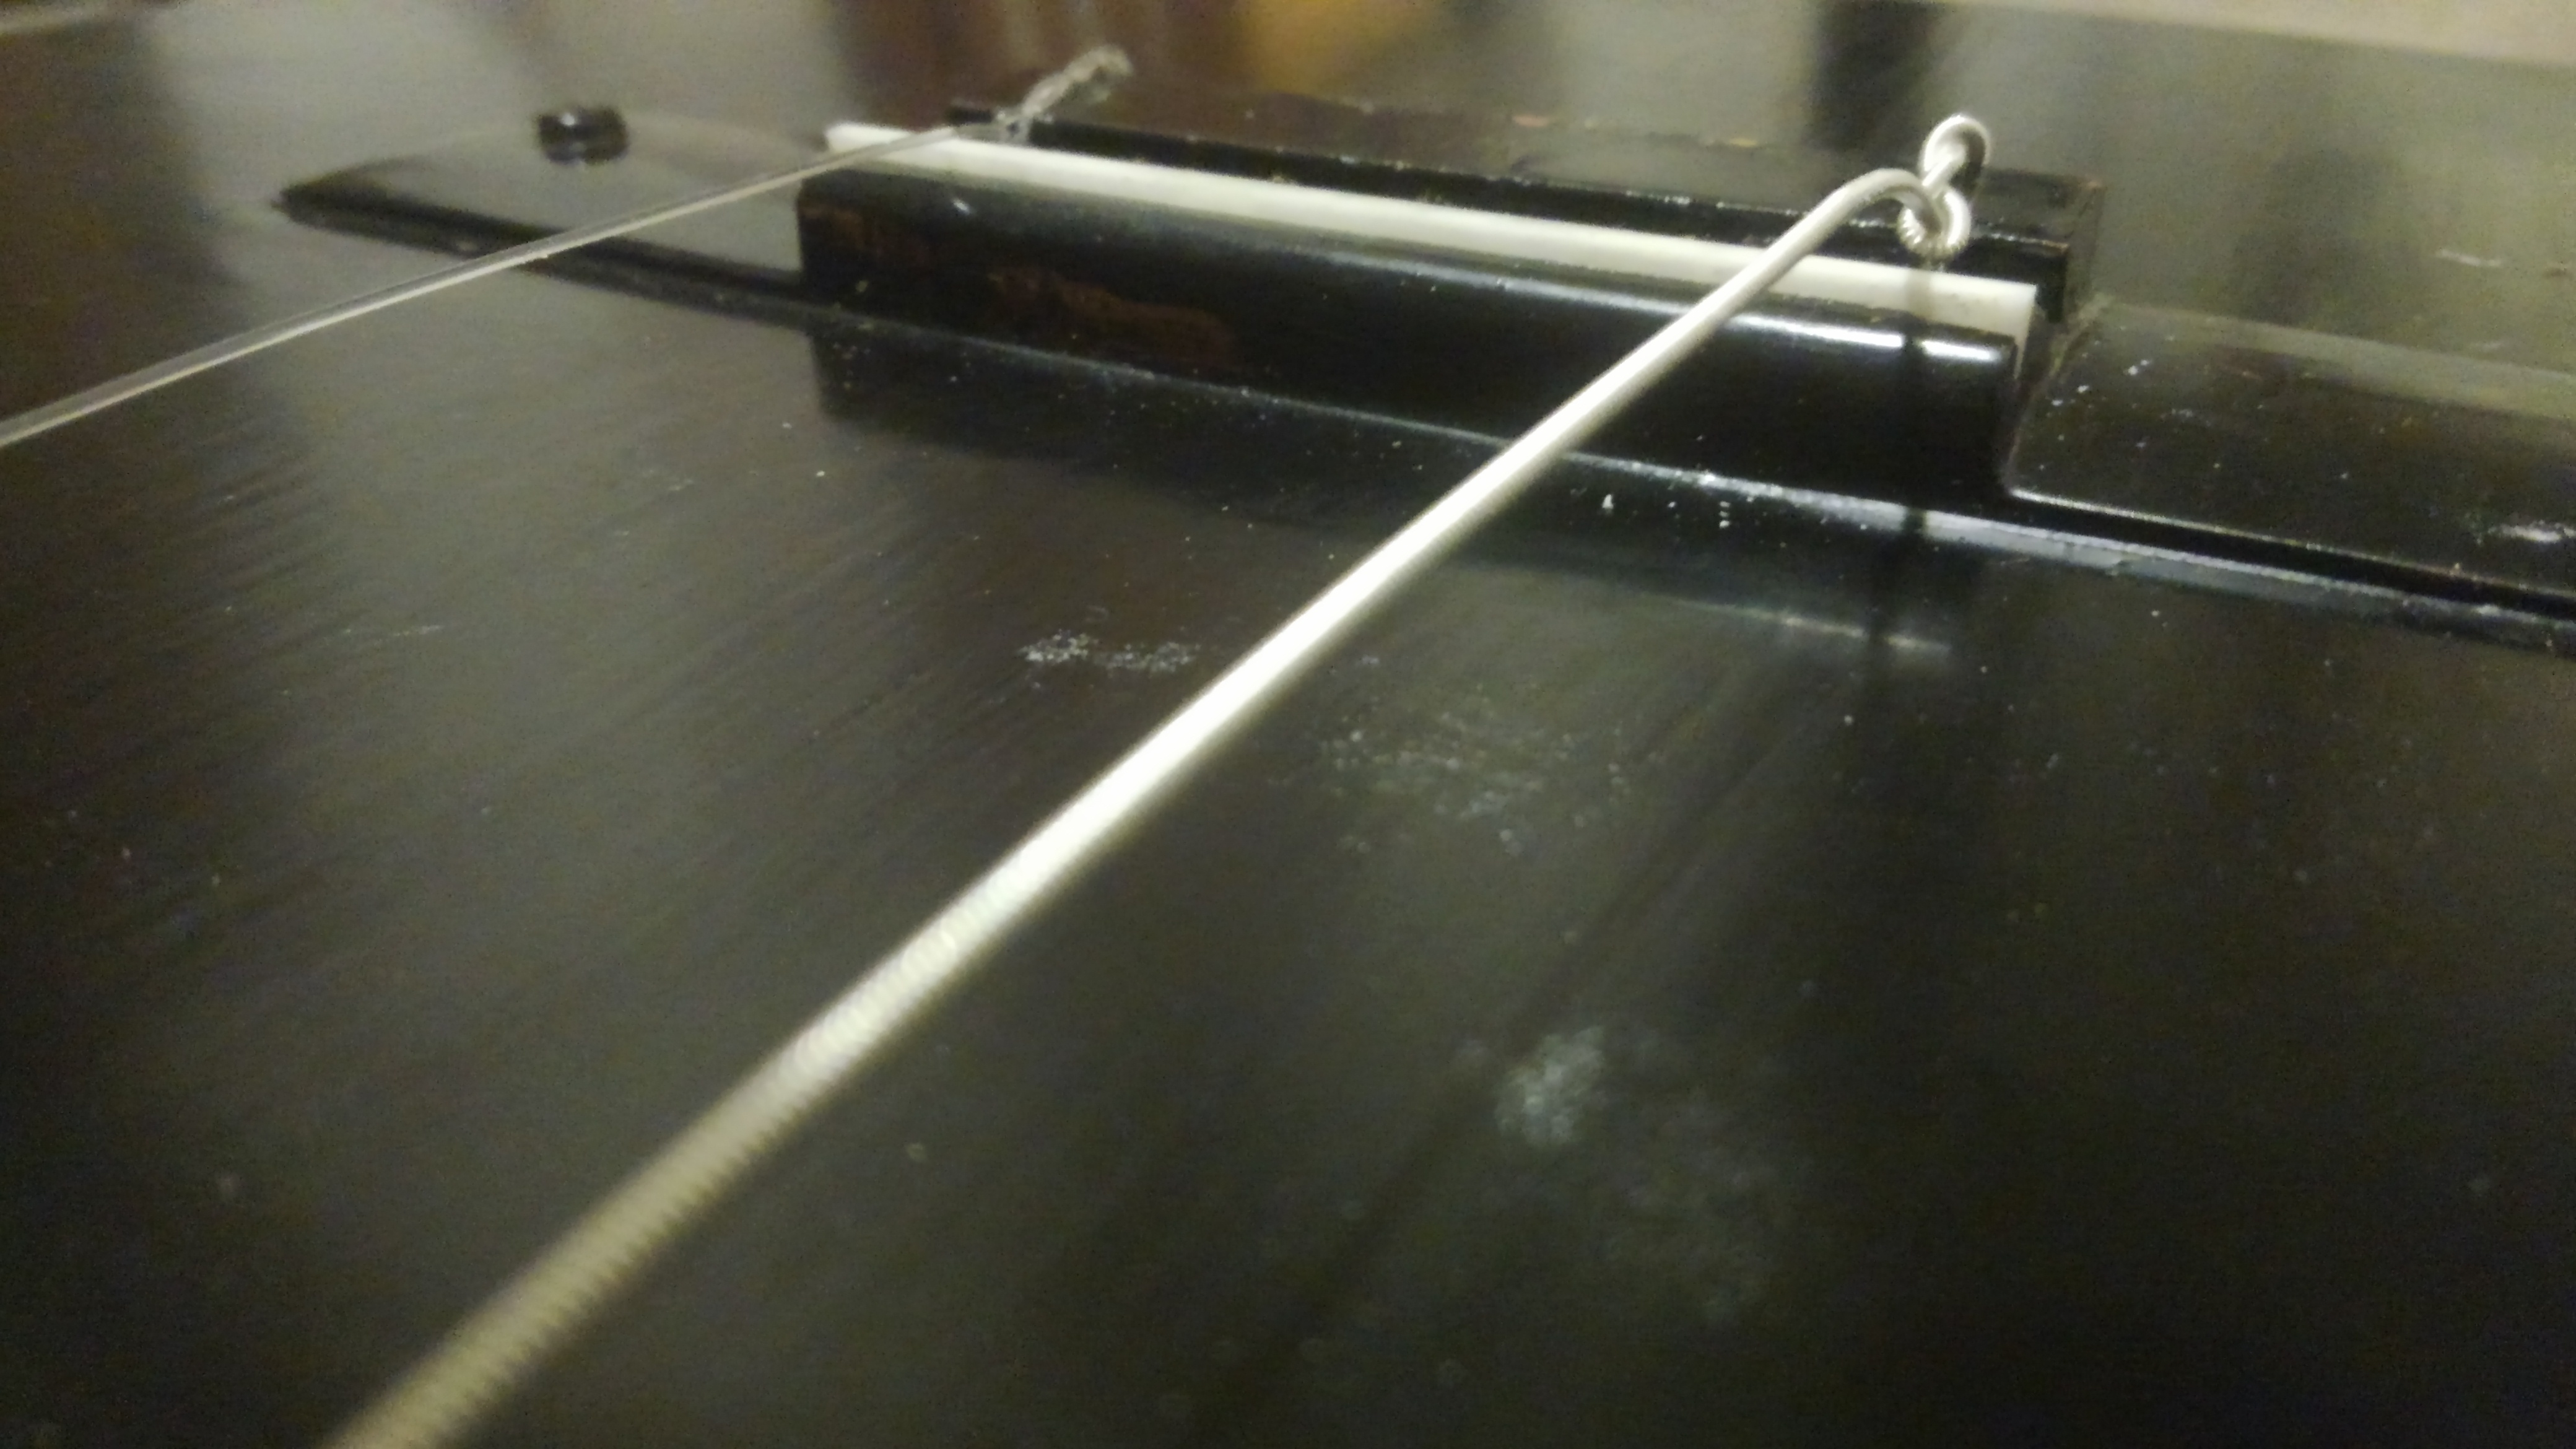
Wasn't able to avoid scarring when the drill bit went through. Oh, well, this is a punk-ass conversion anyway.
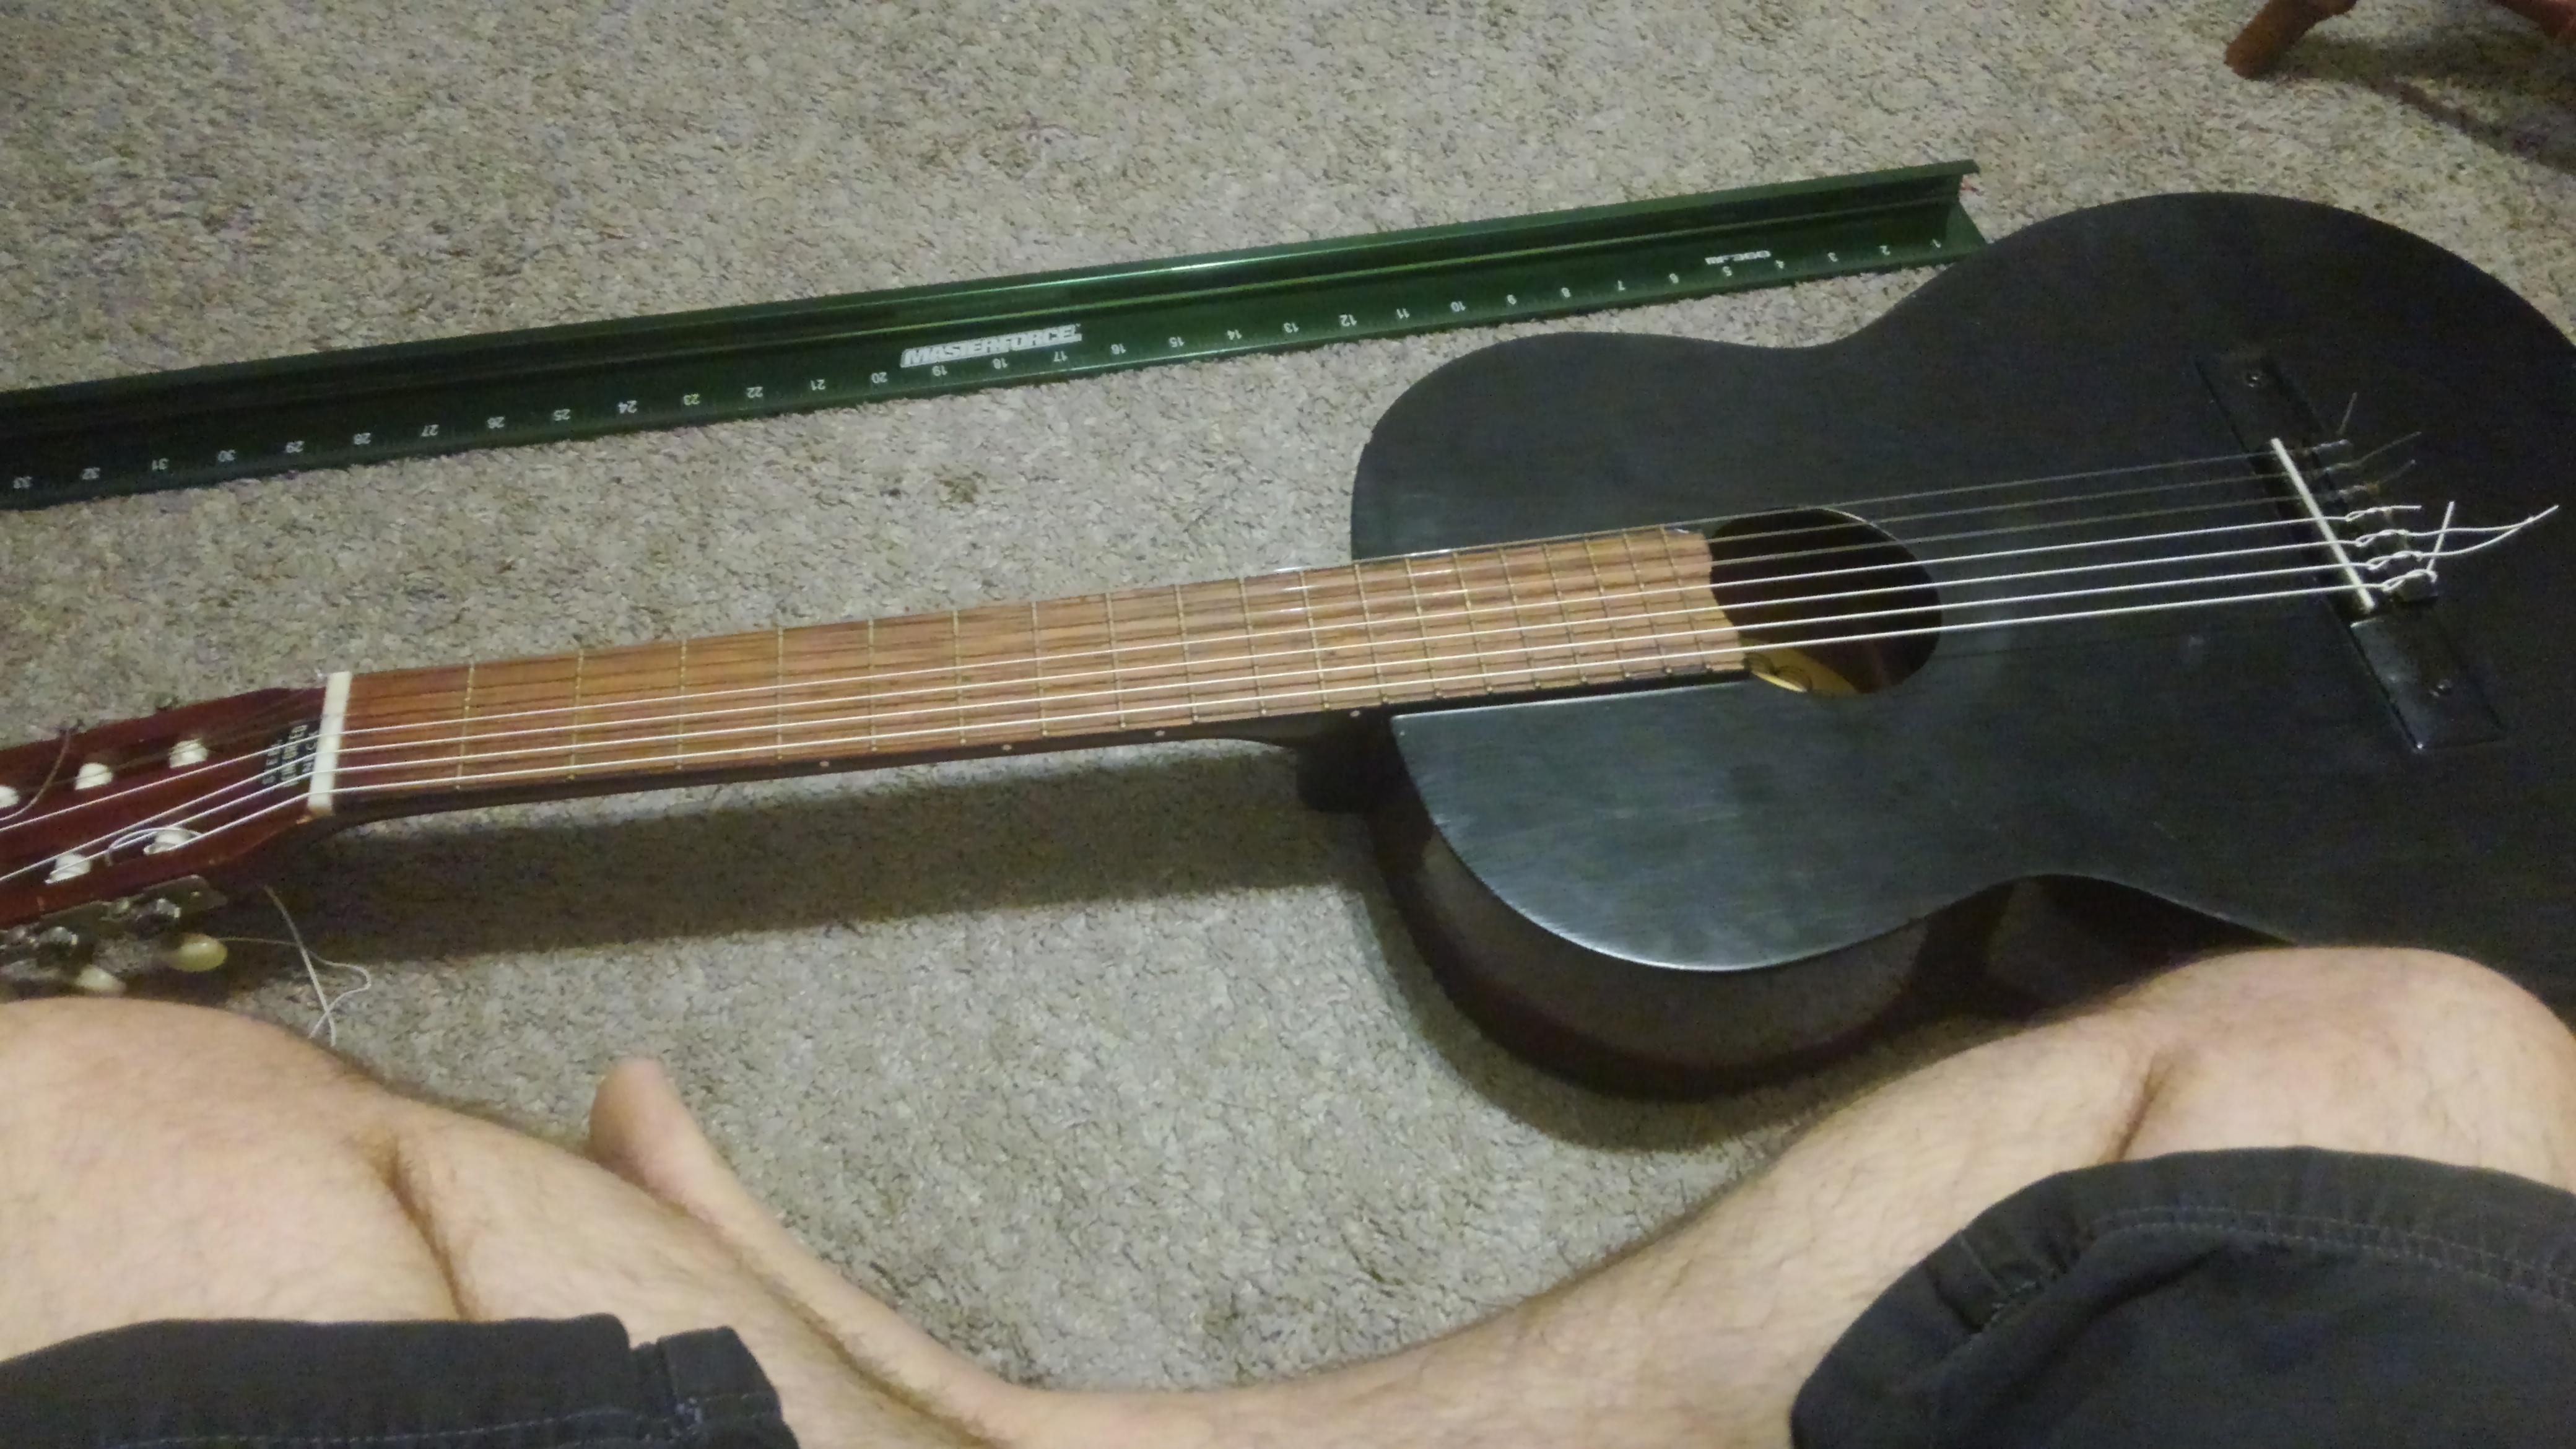
Holes all drilled, and looking reasonably even.
EDIT 3: Stringing and final nut and saddle adjustment
So with the strings in hand, it's time to file the nut slots to size. I have a cheap nut slot file set from China that kinda sucks, but it gets the job done. For this part, I basically compare the string with files until I find one the same size, and use it to carve the slot to shape.
Up next is putting on the high and low strings so that I can use them to gauge the intonation and action (how correct the notes are up the neck, and how high they are off of the fretboard).
At the suggestion of the same luthier on Freenode, I put a capo on the first fret, which allowed me to gauge intonation and action on the basis of the saddle alone and get its height properly adjusted first.
Not pictured: Detuning, removing the saddle, sanding it, reinserting it, and re-tensioning the strings 5+ times
Once I was satisfied with the saddle height, I did more-or-less the same thing to the nut - detune, remove, sand, reinsert, test, repeat. Eventually, I was satisfied enough with the action. Thankfully, the intonation was right - adjusting that would have required removing and repositioning the bridge.
The saddle, near final height, with the strings detuned.
With all this done, it's time to string it!
Strung! Let's get the thing in tune, test it, and...
Right after this picture, I realized that I'd done the nut wrong. It was leaning slightly toward the body, which made it buzz like a sitar. I at this point had to take off the tension, remove the nut, and re-sand two faces so that it would lean back instead of forward. Sigh...
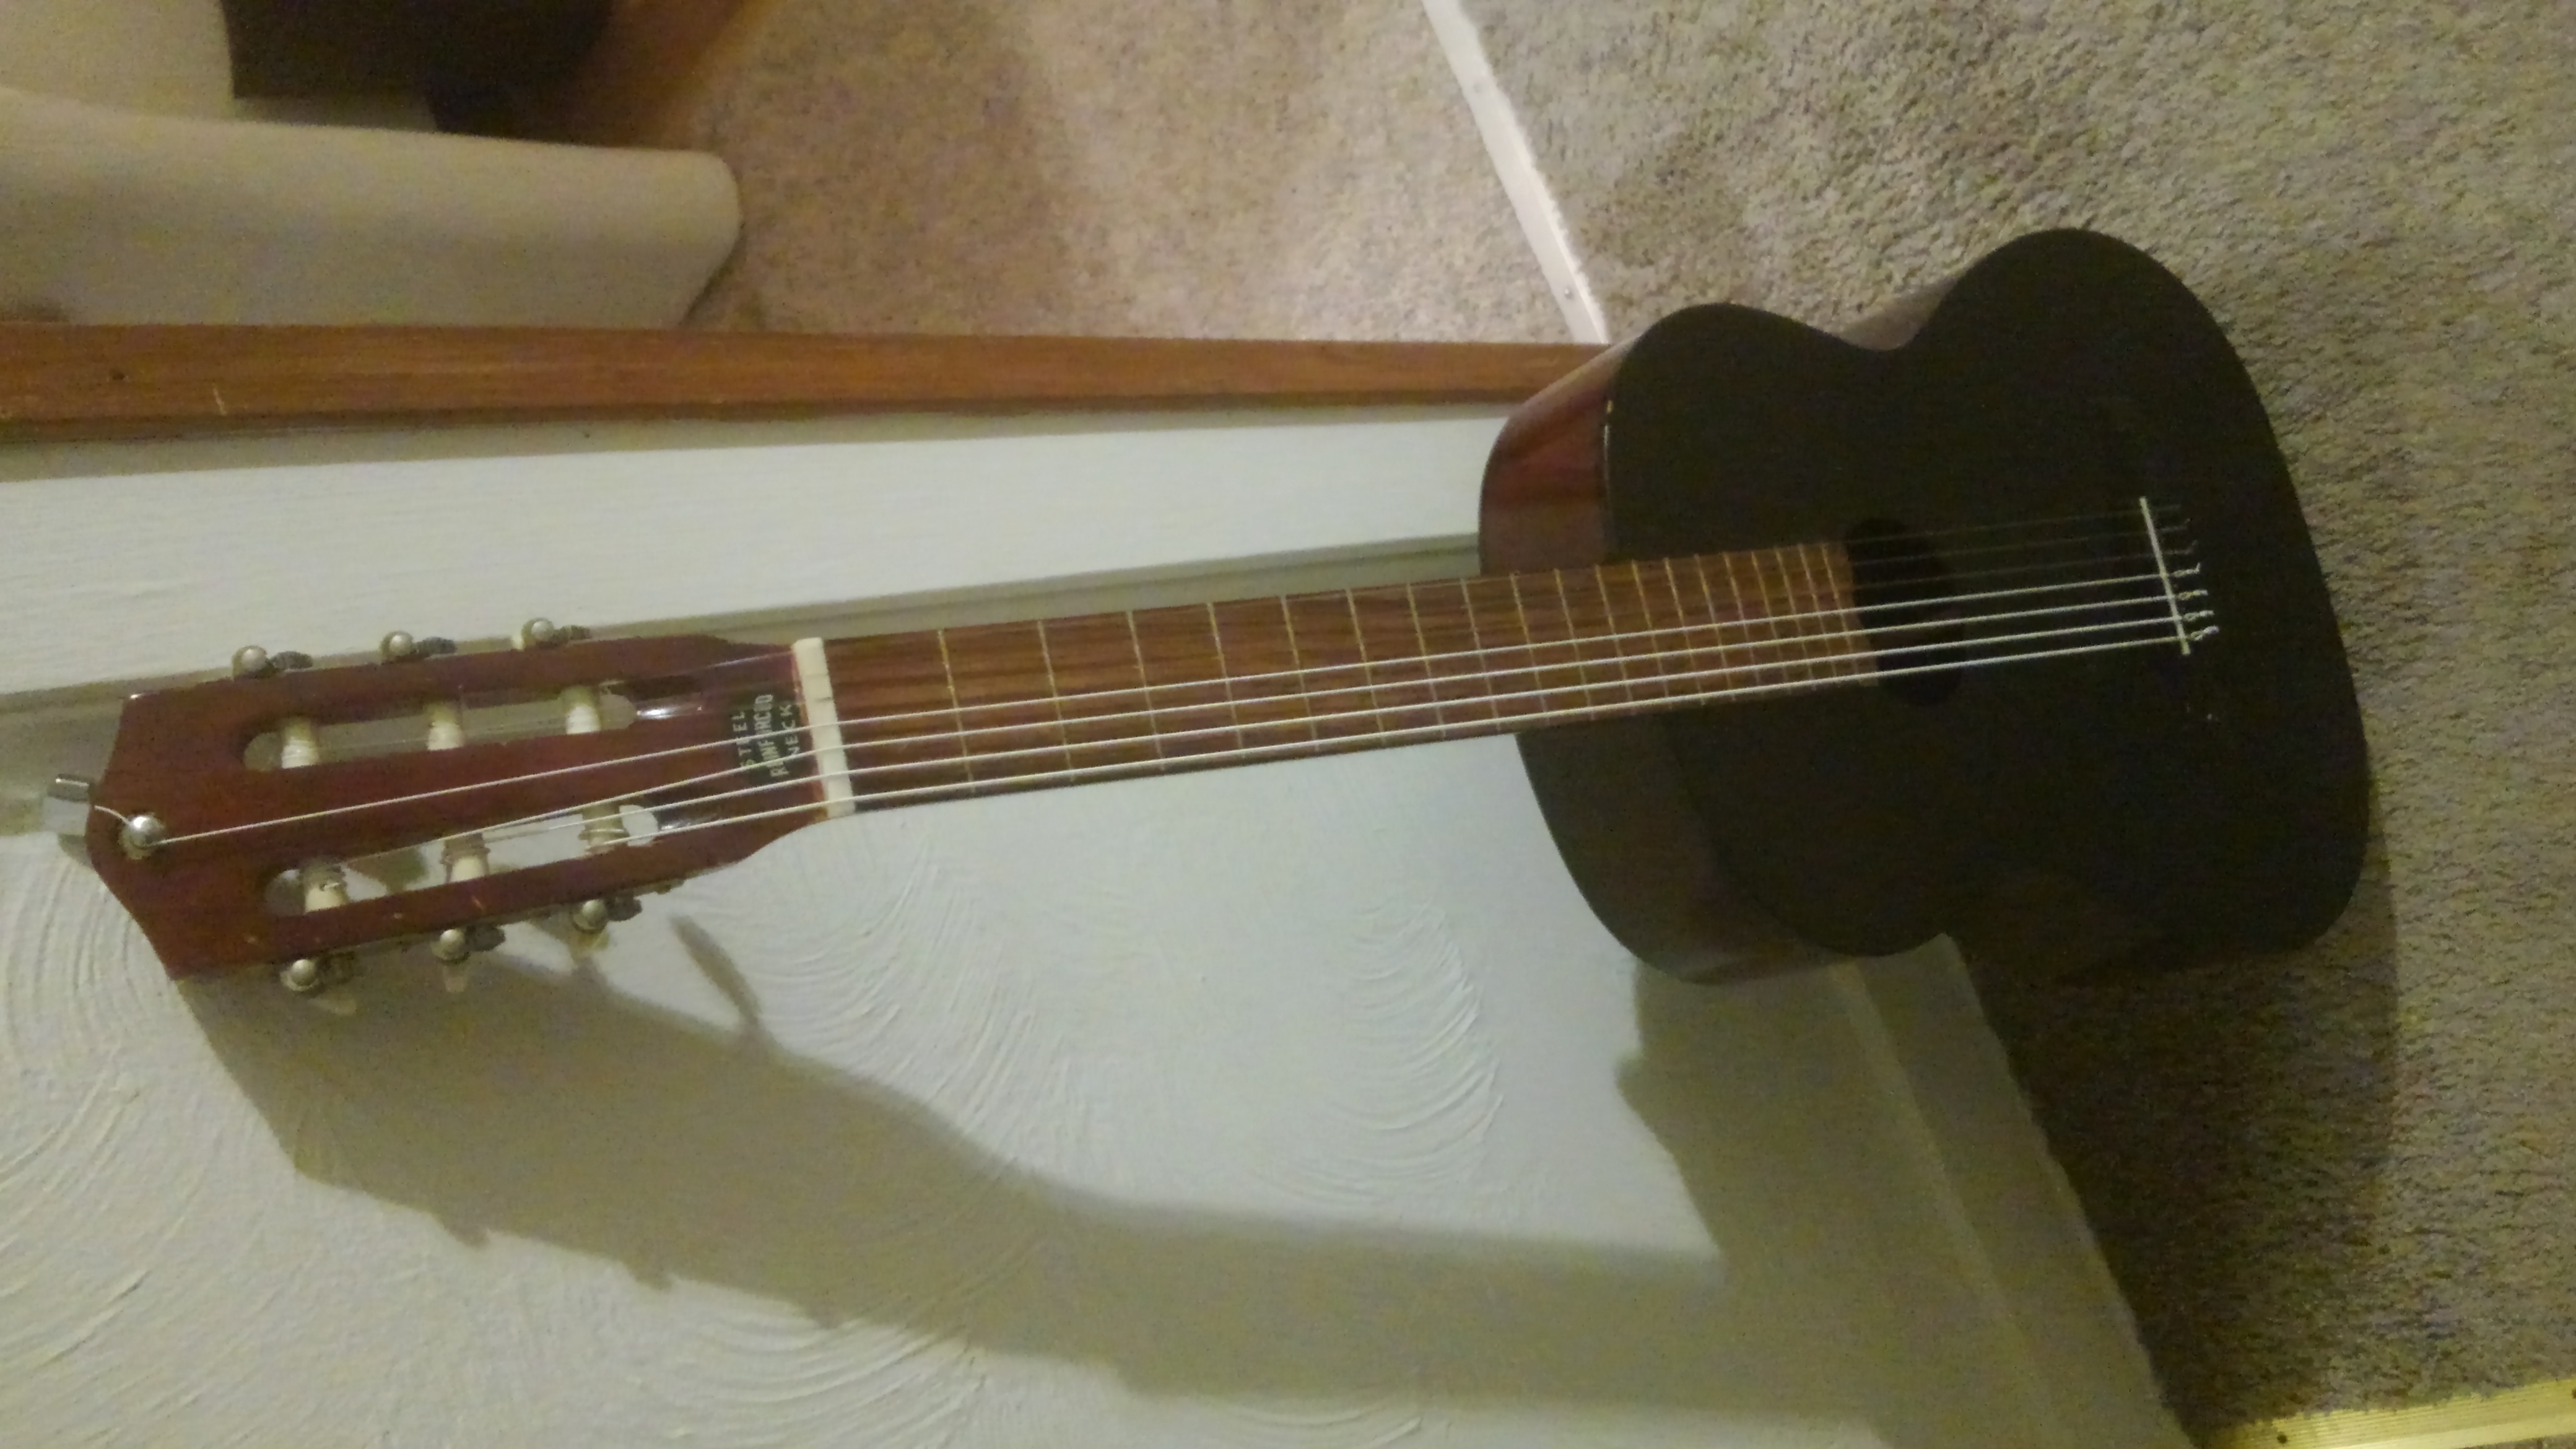
But with that resolved, it WORKS, and is decently playable. Here it is, the final product (though I may do more nut and saddle adjustment tomorrow):
THAT'S ALL FOR THIS EPISODE OF SHITTY LUTHIERY WITH ROTHEN
THANKS FOR WATCHING
Big thanks to holstein on #guitar on Freenode.